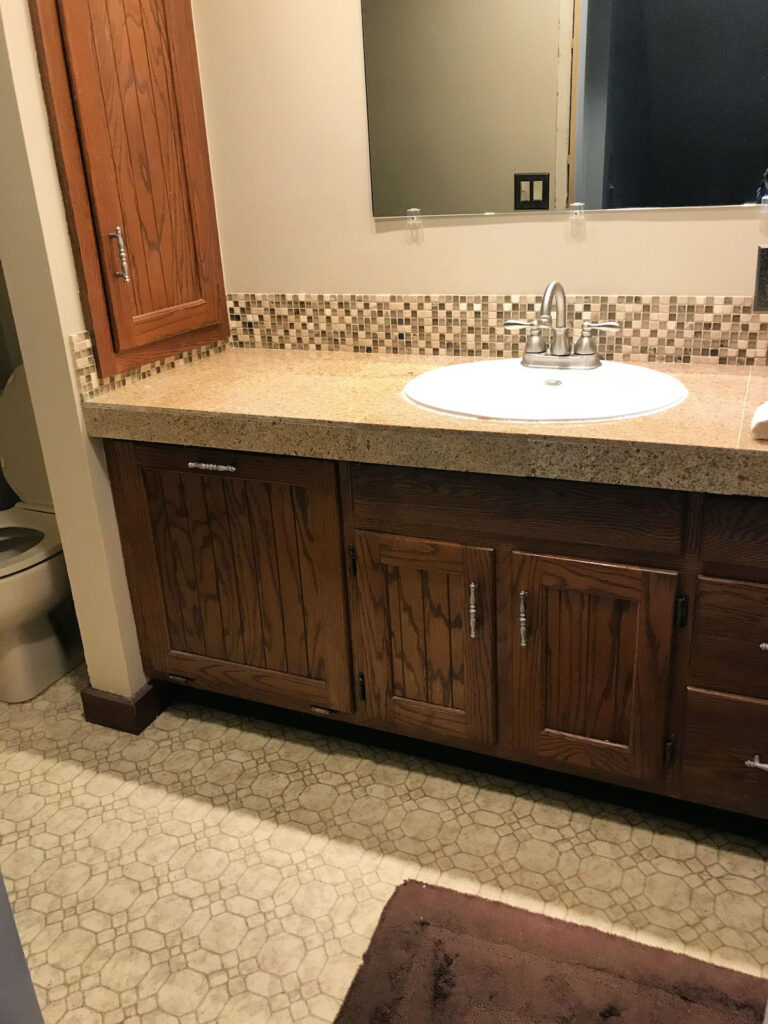
We are slooowly remodeling every single room in our fixer-upper 1890s farmhouse. This tends to happen when you work full time. I used to be an immediate gratification kind of gal, but I find I’m more mindful when the workflow pace is more relaxed. We don’t want to rush our decisions or hurry and do sloppy work. But when Matt said it was time to start our upstairs bathroom, I did a demo day happy dance. I’m not going to lie, that upstairs bathroom remodel was way overdue in my opinion. And straight out of 1970s hideous.

First, the door opened into the bathroom, and it was already a tight fit. The toilet was that weird almond color. The cabinets were yucky 70s brown that’s neither rich and dark nor pale. Just blah and fake wood looking. The floor was a dingy cream linoleum. The lights were really dim and the fan to keep things less steamy wasn’t wired correctly. The only thing going for it was the showerhead height because Matt is 6’4″.
Choosing the Style
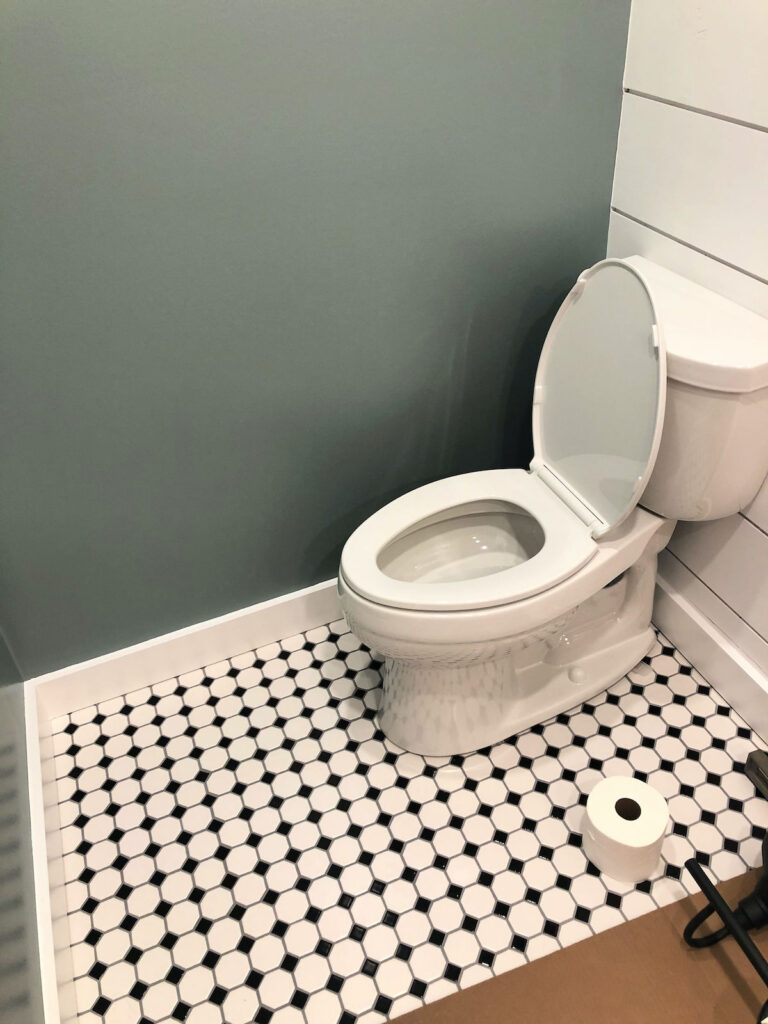
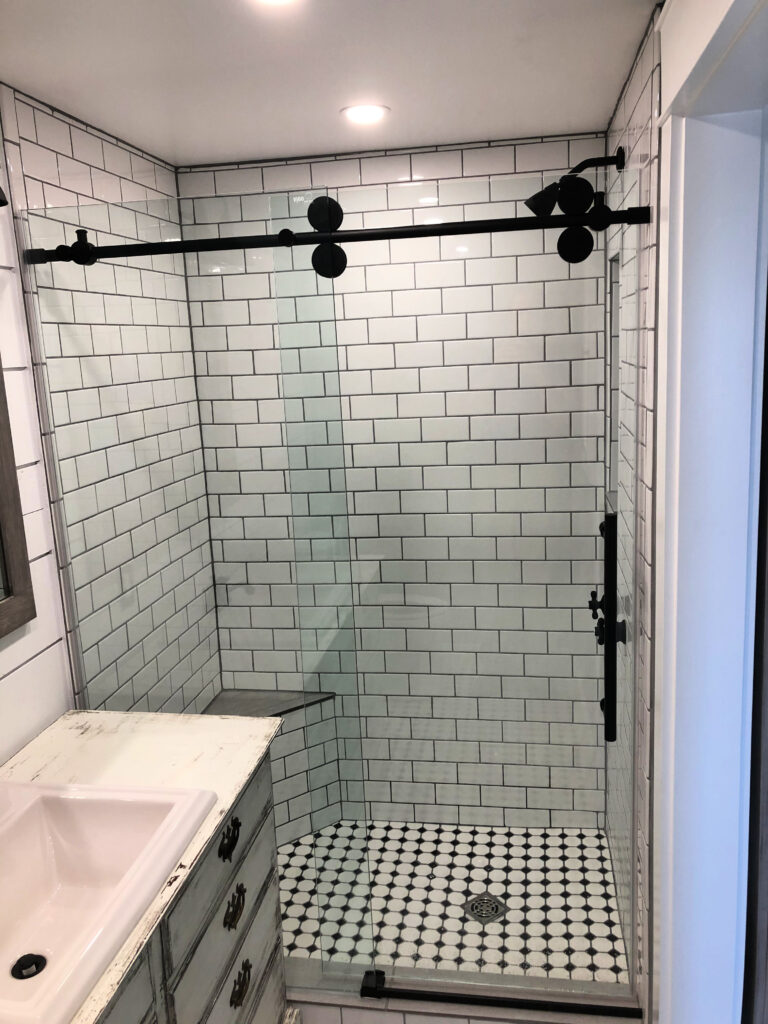
It was a relief to tear everything out of there and get to work. Shopping was next (my favorite part, of course!). We consider our style to overall fall under Modern Traditional. Think classic colors but cleaner overall lines. We really wanted to pick materials that wouldn’t feel dated in a few years, which is why we went with a lot of black and white elements. To modernize a bit, we chose a rectangular, classic white subway tile but chose to do the grout in a gray color instead. And our glass shower door hardware has a sleek, industrial vibe. We also love mixing in antiques. They give spaces so much character!
When I say this is an overhaul, I really mean it. We tore out all of the old and ugly floors and floorboards and replaced them. Matt framed the inside of the door and installed a small cabinet for toiletries. He handmade the shiplap and installed it, rebuilt the shower, and then tiled the floor, shower floor, and walls. He installed new lighting and a whisper-quiet fan. Next, Matt built a barn door as the entrance and because it’s framed, we can always switch back to a classic door later. He even installed the sink inside the antique vanity, and let me tell you, that was no small task!
The Workflow to Our Upstairs Bathroom Remodel
- Complete tear-out of the existing bathroom, all the way down to the studs
- Ran electric for the lighting and installed the new bathroom fan
- Pulled out all the old PVC plumbing and replaced it with Pex
- Checked the insulation to see if there were gaps that needed to be filled
- Installed mold-resistant drywall
- Leveled the floors (our house is 120 years old!)
- Primed drywall with Bullseye 123 Plus Primer
- Put in the KERDI liner in the shower
- Next came the pre-primed shiplap Matt built himself
- Put in the tile floor and shower floor
- Next came the trim, baseboards, and built in-wall cabinet
- Primed and painted all the trim with 2 coats of white satin (sprayed)
- Painted the walls
- Installed tile in the shower put in the toilet
- Wired in vanity lighting
- Put in the antique vanity and sink insert
- Put up the shower door and mirror above the vanity


This project took almost four months of weekends and some evenings to complete with almost all work done ourselves. One small plumbing task had to be outsourced, but that’s really it. Yes, that was a long time but we have another bathroom downstairs that we used instead, and we saved tons of money by doing it ourselves. We even repurposed the mirror over the vanity and Matt just added a custom frame around it. Another perk of DIY is learning new skills, and those always come in handy.
Here Are Some After Pics
Due to how small this bathroom is, we did our best!


Check Out Our Short Video
Here’s What We Learned
- Tiling is not fun in a 120-year old house
- The installation of the sink in the antique dresser was a challenge but it really does look great
- The video tutorials on YouTube were watched MANY times before and during the work phases (you know the whole measure twice, cut once saying, right?) but were super helpful. Thanks, The Home Repair Tutor
- Call an expert when necessary because “winging it” will lead to frustration and disappointment
Bathroom Remodel Sources
Here is the list of items we used in the remodel. I included exact links where able.
- Lights Over Sink – House of Antique Hardware
- Ceiling Can Lights – Home Depot
- Paint Colors – Richard’s Signature Interior Satin in White for shiplap and trim; Pratt & Lambert Redseal Self-Priming Paint, Satin Finish in Seastone
- Shower Fixtures – House of Antique Hardware
- Sink – American Standard purchased at Home Depot
- Sink Fixtures – Home Depot
- Vanity – An Antique Find at Butter Beans Antiques
- Floor Tile – Home Depot
- Shower Wall Tiles – Home Depot
- Shower Doors and Hardware – Home Depot
- Mason Jar Soap Dispenser
- Retro Bathroom Trash Can
Let me know what you think in the comments!

Wow. What a change. It seems so bright.
Great job Angie!
Nice job!
Love love love it! What an amazing transformation… you guys amaze me.
The sink in that antique dresser is AMAZING! I’m so proud of you!!!
Thank you, Jenny! That was no small feat!