If you’re feeling the urge to get crafty this season, this DIY no-sew fleece pillow is just the thing to satisfy that craving. In fact, making things with your own two hands is pretty satisfying anyway, don’t you think? Truth be told, you don’t have to be even a little bit crafty to enjoy whipping up these pillows.
What’s Great About This DIY No-Sew Fleece Pillow
Like my picture frame makeover, this no-sew fleece pillow is also a simple project. As in no sewing simple, and your kids can make them too simple. Since they’re also inexpensive to make, you can whip them up without breaking the bank. And they make great Christmas gifts. No sewing, inexpensive, and giftable? This DIY checks all the boxes.
I love fleece for its cozy softness. The fabric comes in a seemingly endless array of colors and patterns. You can get creative with favorite colors and character themes beyond holiday motifs. I snagged my fleece at Joann during a buy two for $10 promotion. They were originally for popular charity blanket kits, but I thought they would work perfectly for this pillow project, too. I also picked up some 2-pack pillow inserts while I was there. One-stop shopping is my jam!
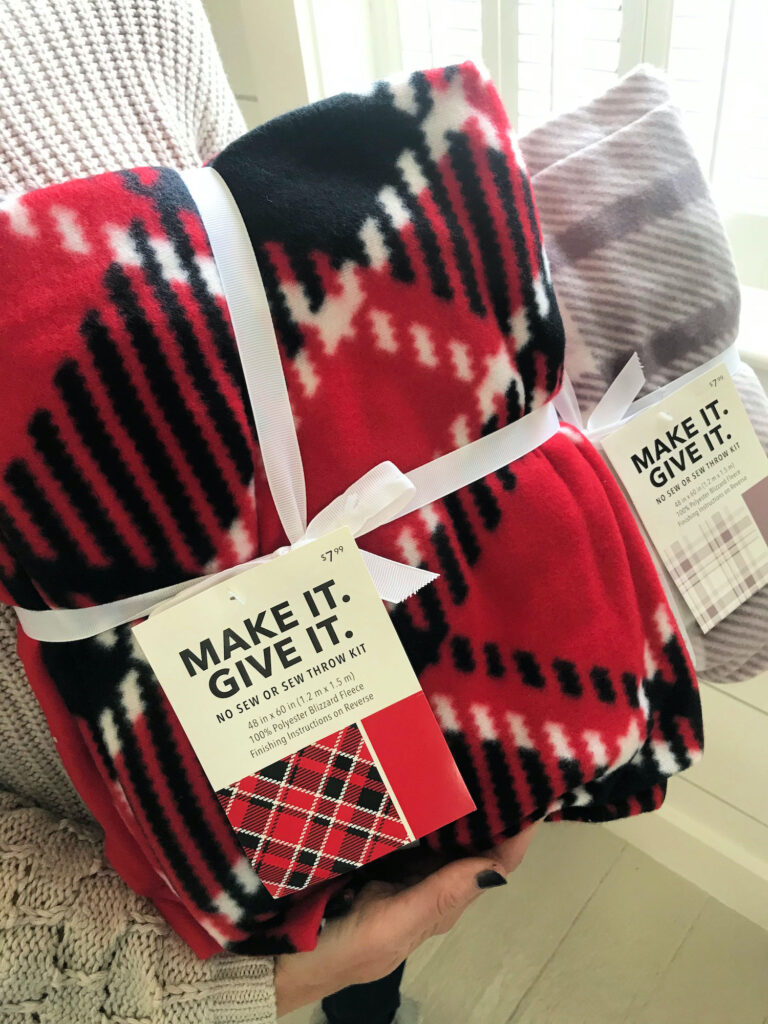
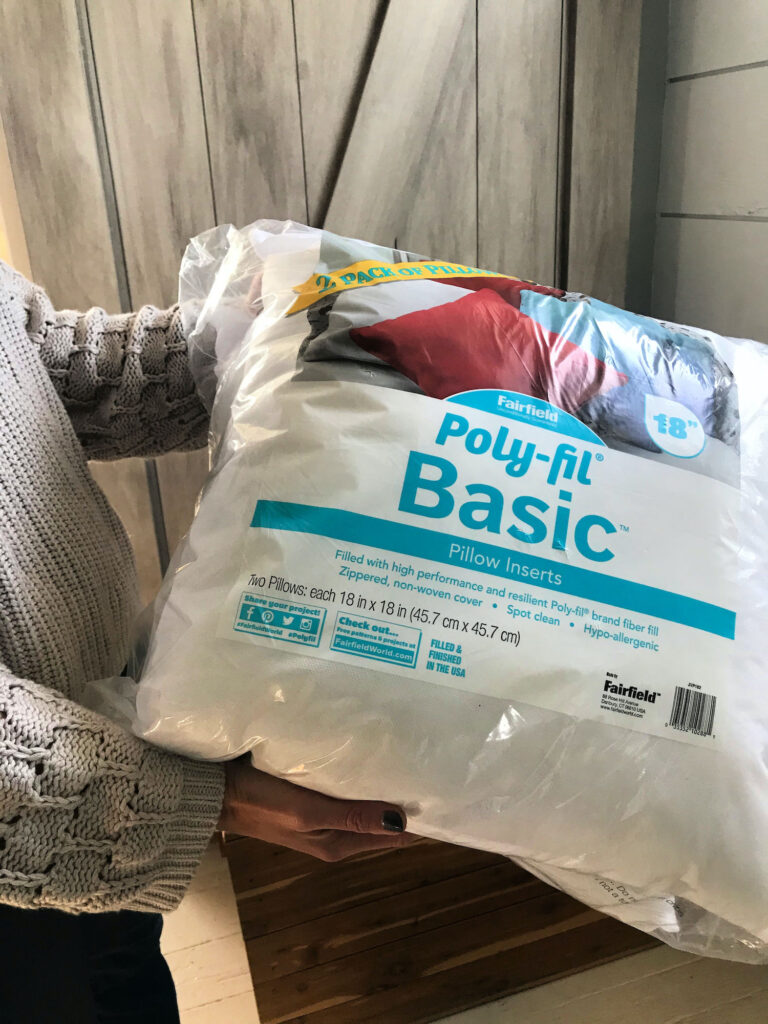
Other fabrics would also work for this pillow if you’re not a fleece person. Suede and wool that has some texture are good alternative choices. You just want to avoid stiff fabrics for this particular project or those that may fray easily.
DIY No-Sew Fleece Pillow Materials
You only need a few things to make this pillow. I recommend sewing scissors like these, but if you don’t have any, sharp regular scissors will be fine. If you don’t have a measuring tape, a ruler will work fine in a pinch.
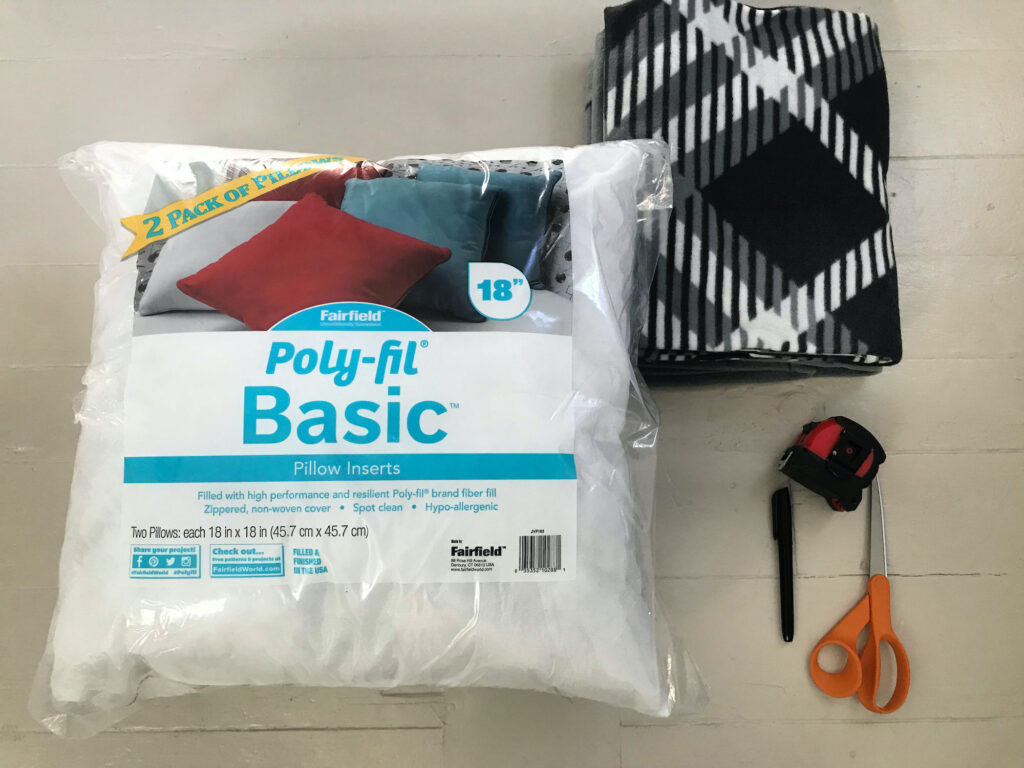
- Pillow insert
- Fleece fabric
- Scissors
- Measuring tape or ruler
- Sharpie
How to Make This DIY No-Sew Fleece Pillow
• Measure your pillows first. Mine is 18 inches square. You want to add 4 inches of extra fabric length and width to these dimensions. My final fabric dimensions are 22″ x 22″.
• If you use fleece, trim off the edge that has a natural curl. Cut two pieces of fabric to size, stacking them one on top of the other. This is the easiest and best way to cut your two pieces of fabric to the same dimensions.
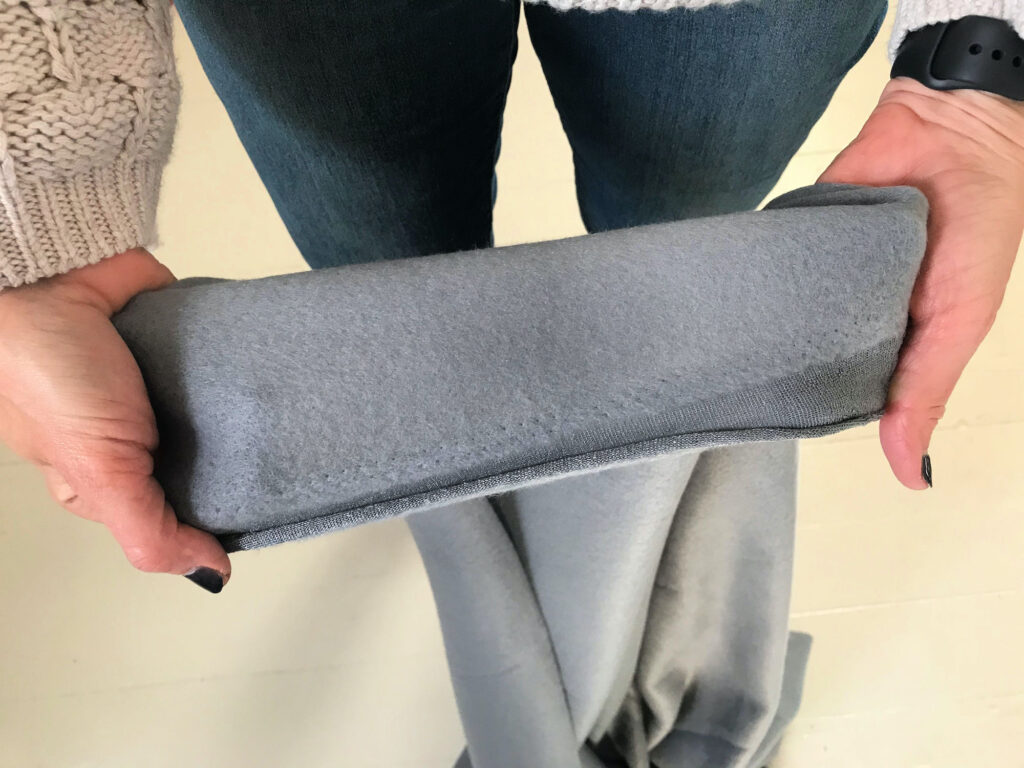
• Check your fabric and make sure the right side is up on the top layer and down on the bottom later. TIP: With most fabrics, you can tell which side is not “right” by a sheen the “wrong” side has.
• Next, trim a 2″ square out of each corner of the fabric, keeping the pieces stacked together. The sharpie comes in handy for this step. When finished, you should have a square shape cut out of each corner.
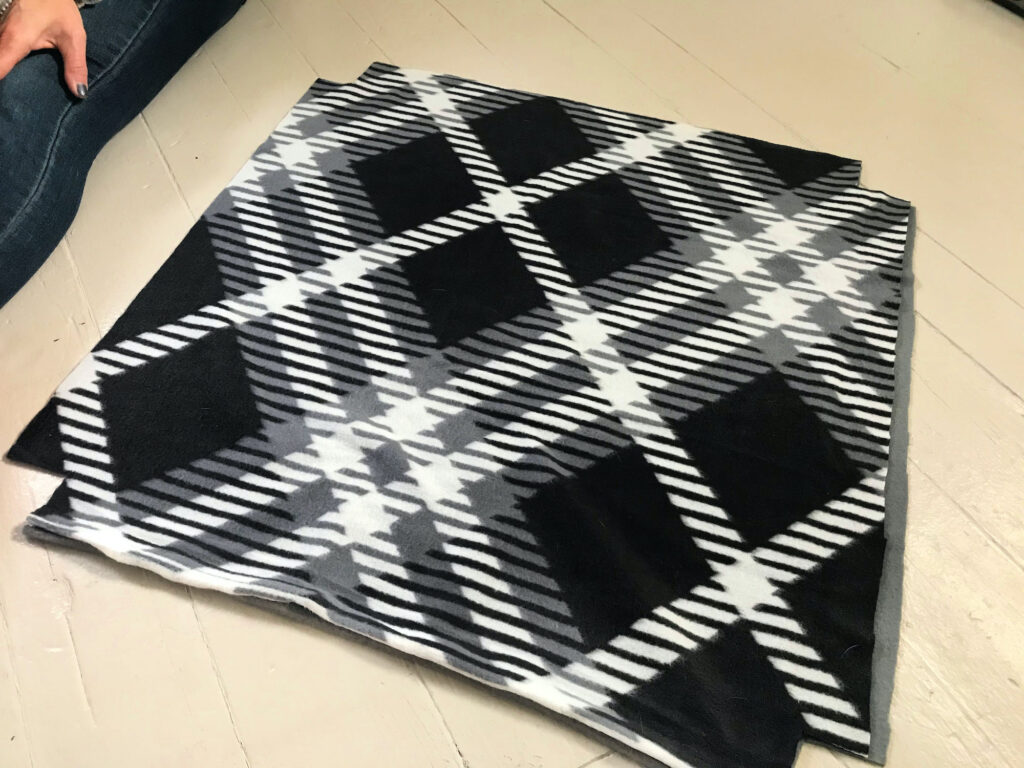
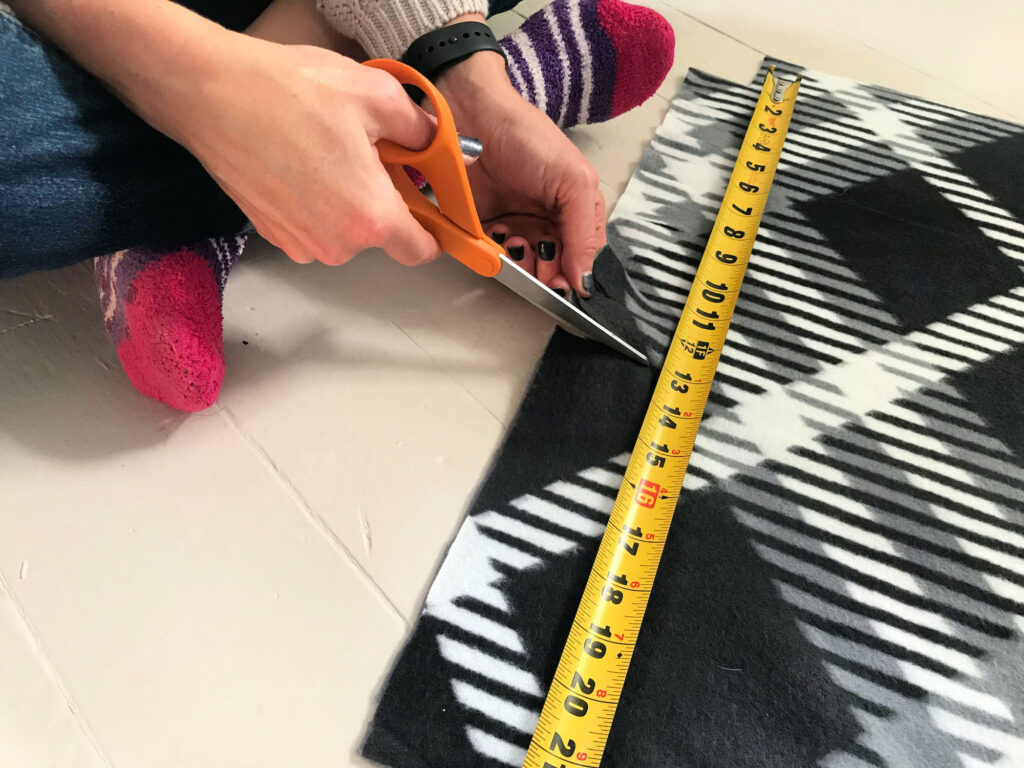
• Working from the corners, cut 1″ wide by 2″ long strips along all 4 edges, all the way around. To make this easier, place your measuring tape on the fabric length as a guide. Be careful that you cut through both pieces of fabric.
Choose Your Pillow Style
If you have never worked with fleece before, I recommend doing a fringe style. If you have good finger dexterity, you can do the braided edge option.
Simple Fringe Style Directions
To make this pillow the easiest, make simple knots all the way around as follows. I made a holiday pillow by adding a small ornament to each corner and knotting it into place. You can also add a jingle bell in each corner. Just make sure you choose ornaments or jingle bells that have a large enough hole at the top to thread a piece of fleece through.
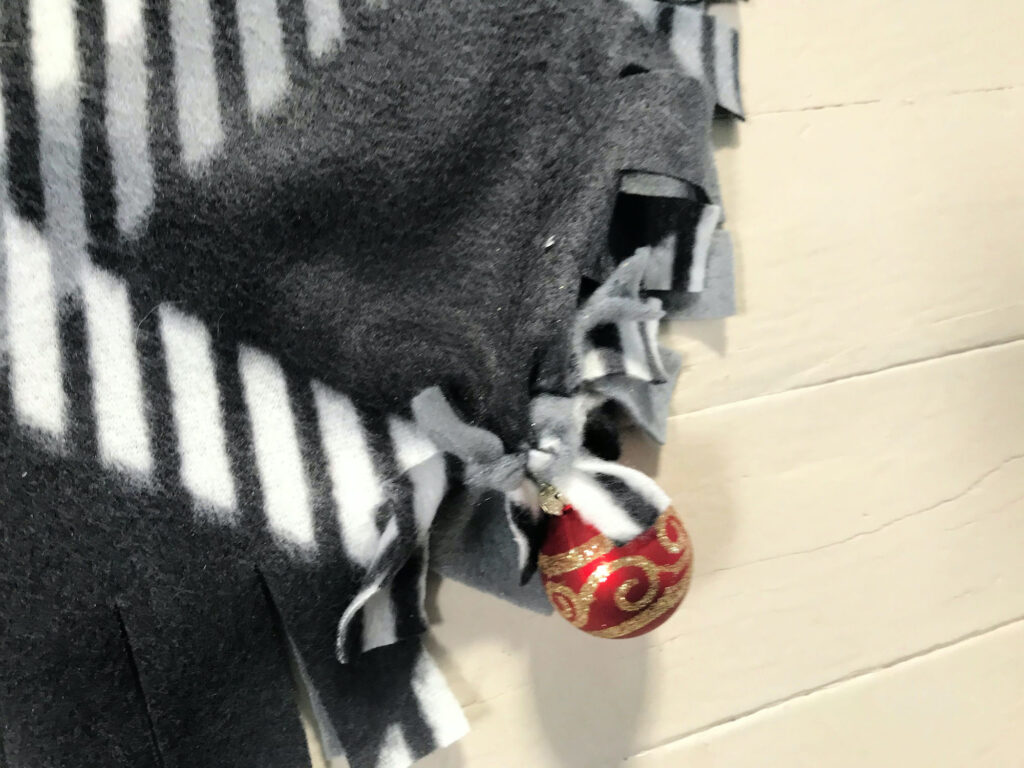
- Start with a corner and pick up the two pieces of fabric you cut to make one strip.
- Next, take a simple knot with the two pieces of fabric.
- Pick up the next two pieces of fabric and do the same, making sure you choose the same sequence of fabric over and under as you work your way around.
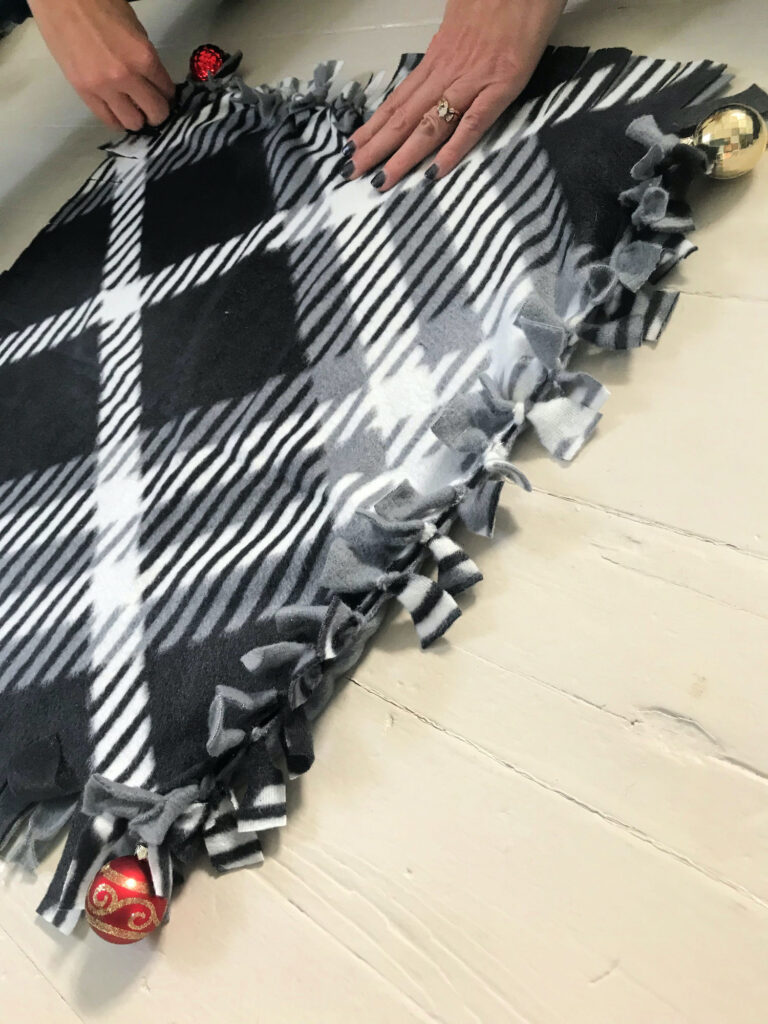
- Once you have three sides completed, carefully separate both layers of fabric and push the pillow insert completely into the inside edges of your fabric on the open side.
- Finish by tying the fringes of the final edge. Before you tie, make sure you have your top and bottom fabric strips lined up.
Braided Edge Directions
• Take the first strip you cut (both layers) and fold it in half. Then snip a quarter inch slit in the center of each. Do this all the way around the fleece cover. When you unfold the fabric, the slit will be a half-inch long right in the center of the strips. That’s as large as you’ll want to make it.
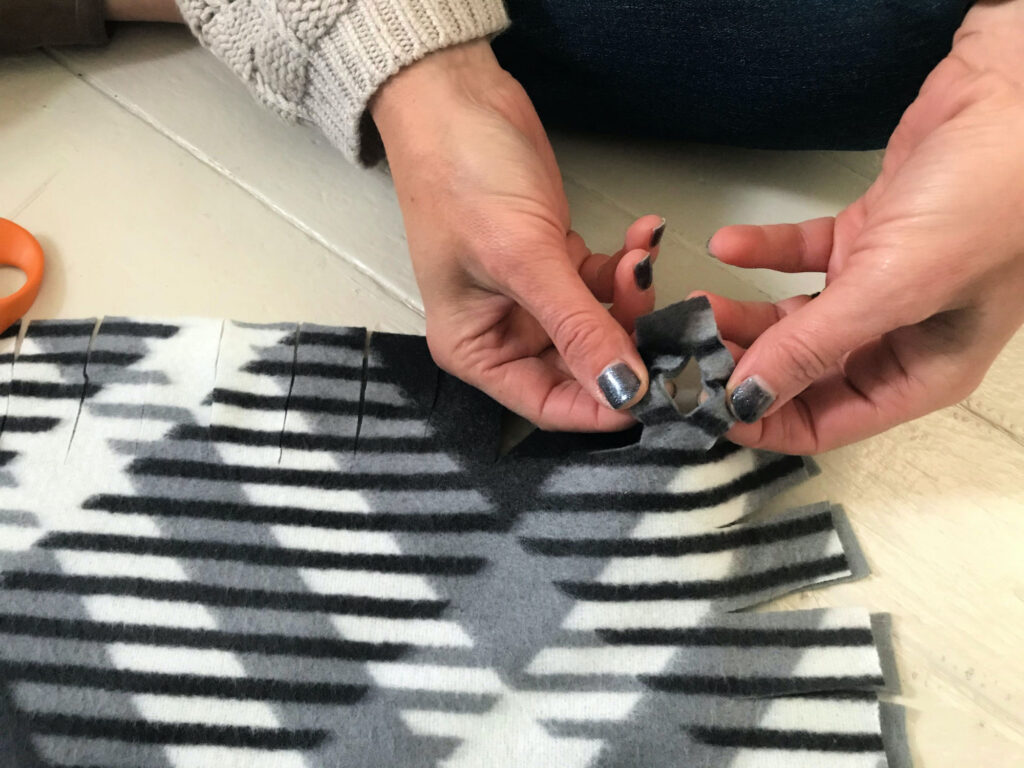
• Next, starting at a right corner, take 1 set of strips in your right hand and another in the left. With a finger of your right hand, hold the hole open on the right set of strips. Then, using your left hand, push the second set of strips in the hole in the right set of strips and pull it tight.
• Release the first set of strips that was in your right hand and pick up a new set of strips in your left hand. Watch the video link in this post to see a quick demonstration.
• Continue doing this around 3 sides. You’ll want to make sure you work in the same direction all the way around. After just a few strips, you’ll notice a braided appearance.
• When you get to a corner, there’s no need to do anything differently. Simply slip the first strip from the new side through the last strip of the old side.
• For a tailored, neat look, tuck the ends inside the pillow cover as you go.
• Once you’re done with three sides, carefully insert your pillow form, then finish off the last side of fabric.
Watch the Video!
DIY No-Sew Fleece Pillow Reveal
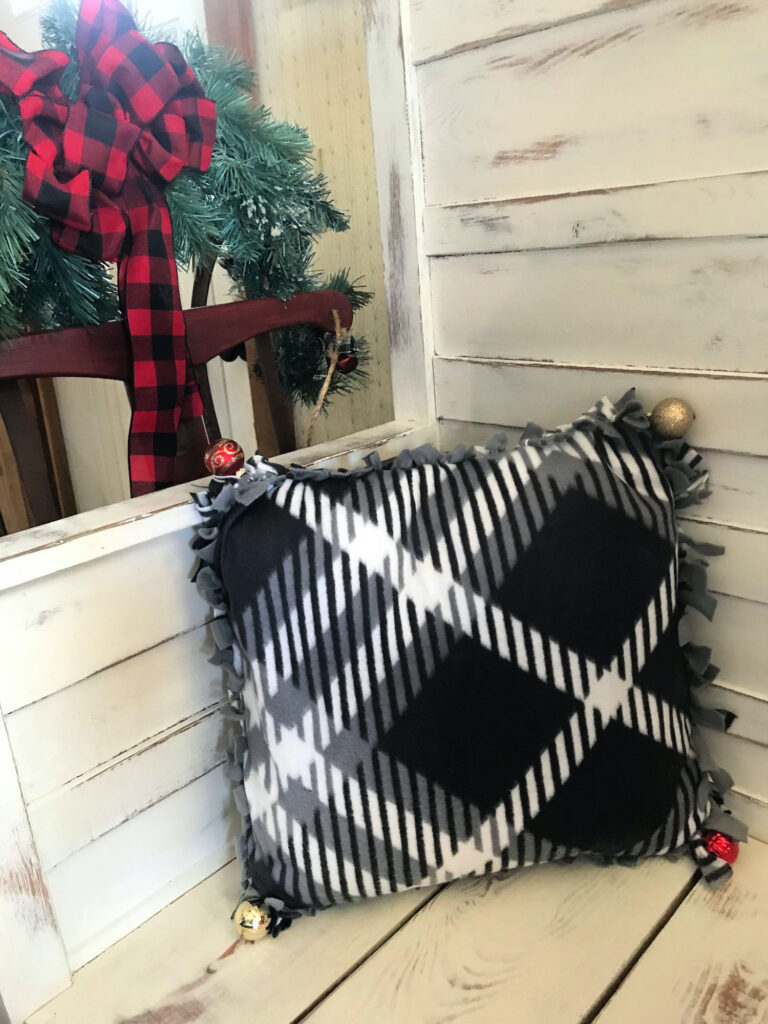
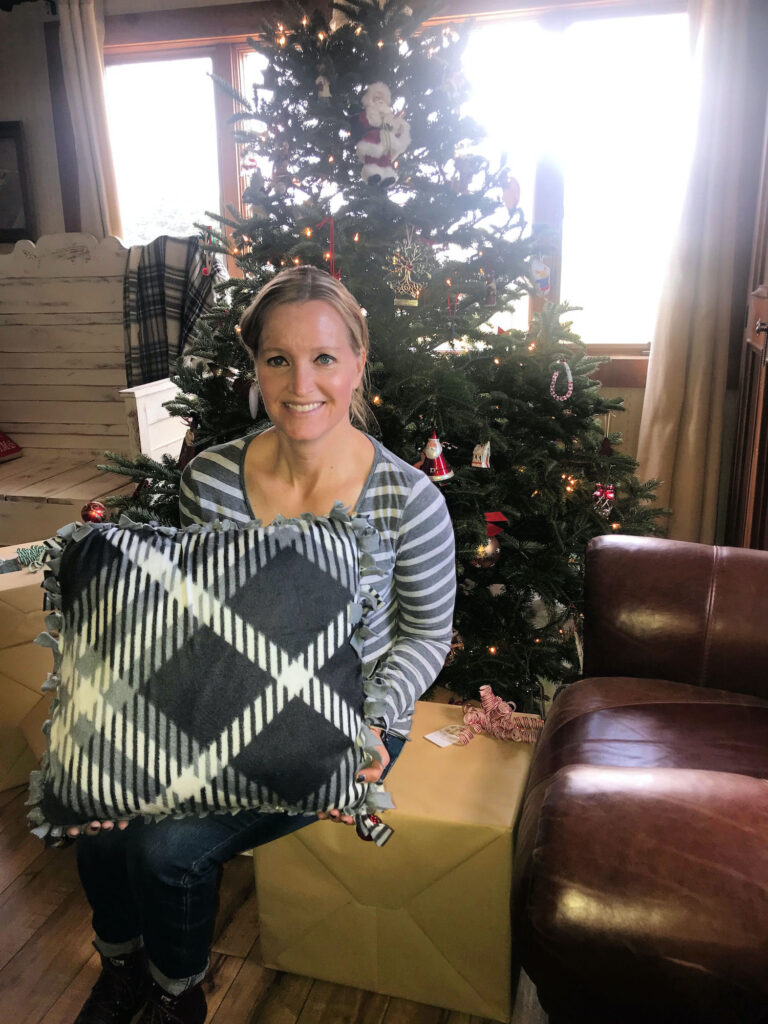
Guess what? It’s all done and look how easy that was. Don’t you want to make more? Think of how easy and inexpensive it can be to easily swap pillows out for the seasons. How cute would this be for a handmade birthday gift, too? The possibilities are honestly endless.
If you decide to make one (or several!) of these, let me know. I’d love to see what you come up with!

Leave a Reply