Do you have an outdated picture frame or two hanging around your house? Today, I’m showing you how to do a simple DIY picture frame makeover, using one of mine as an example.
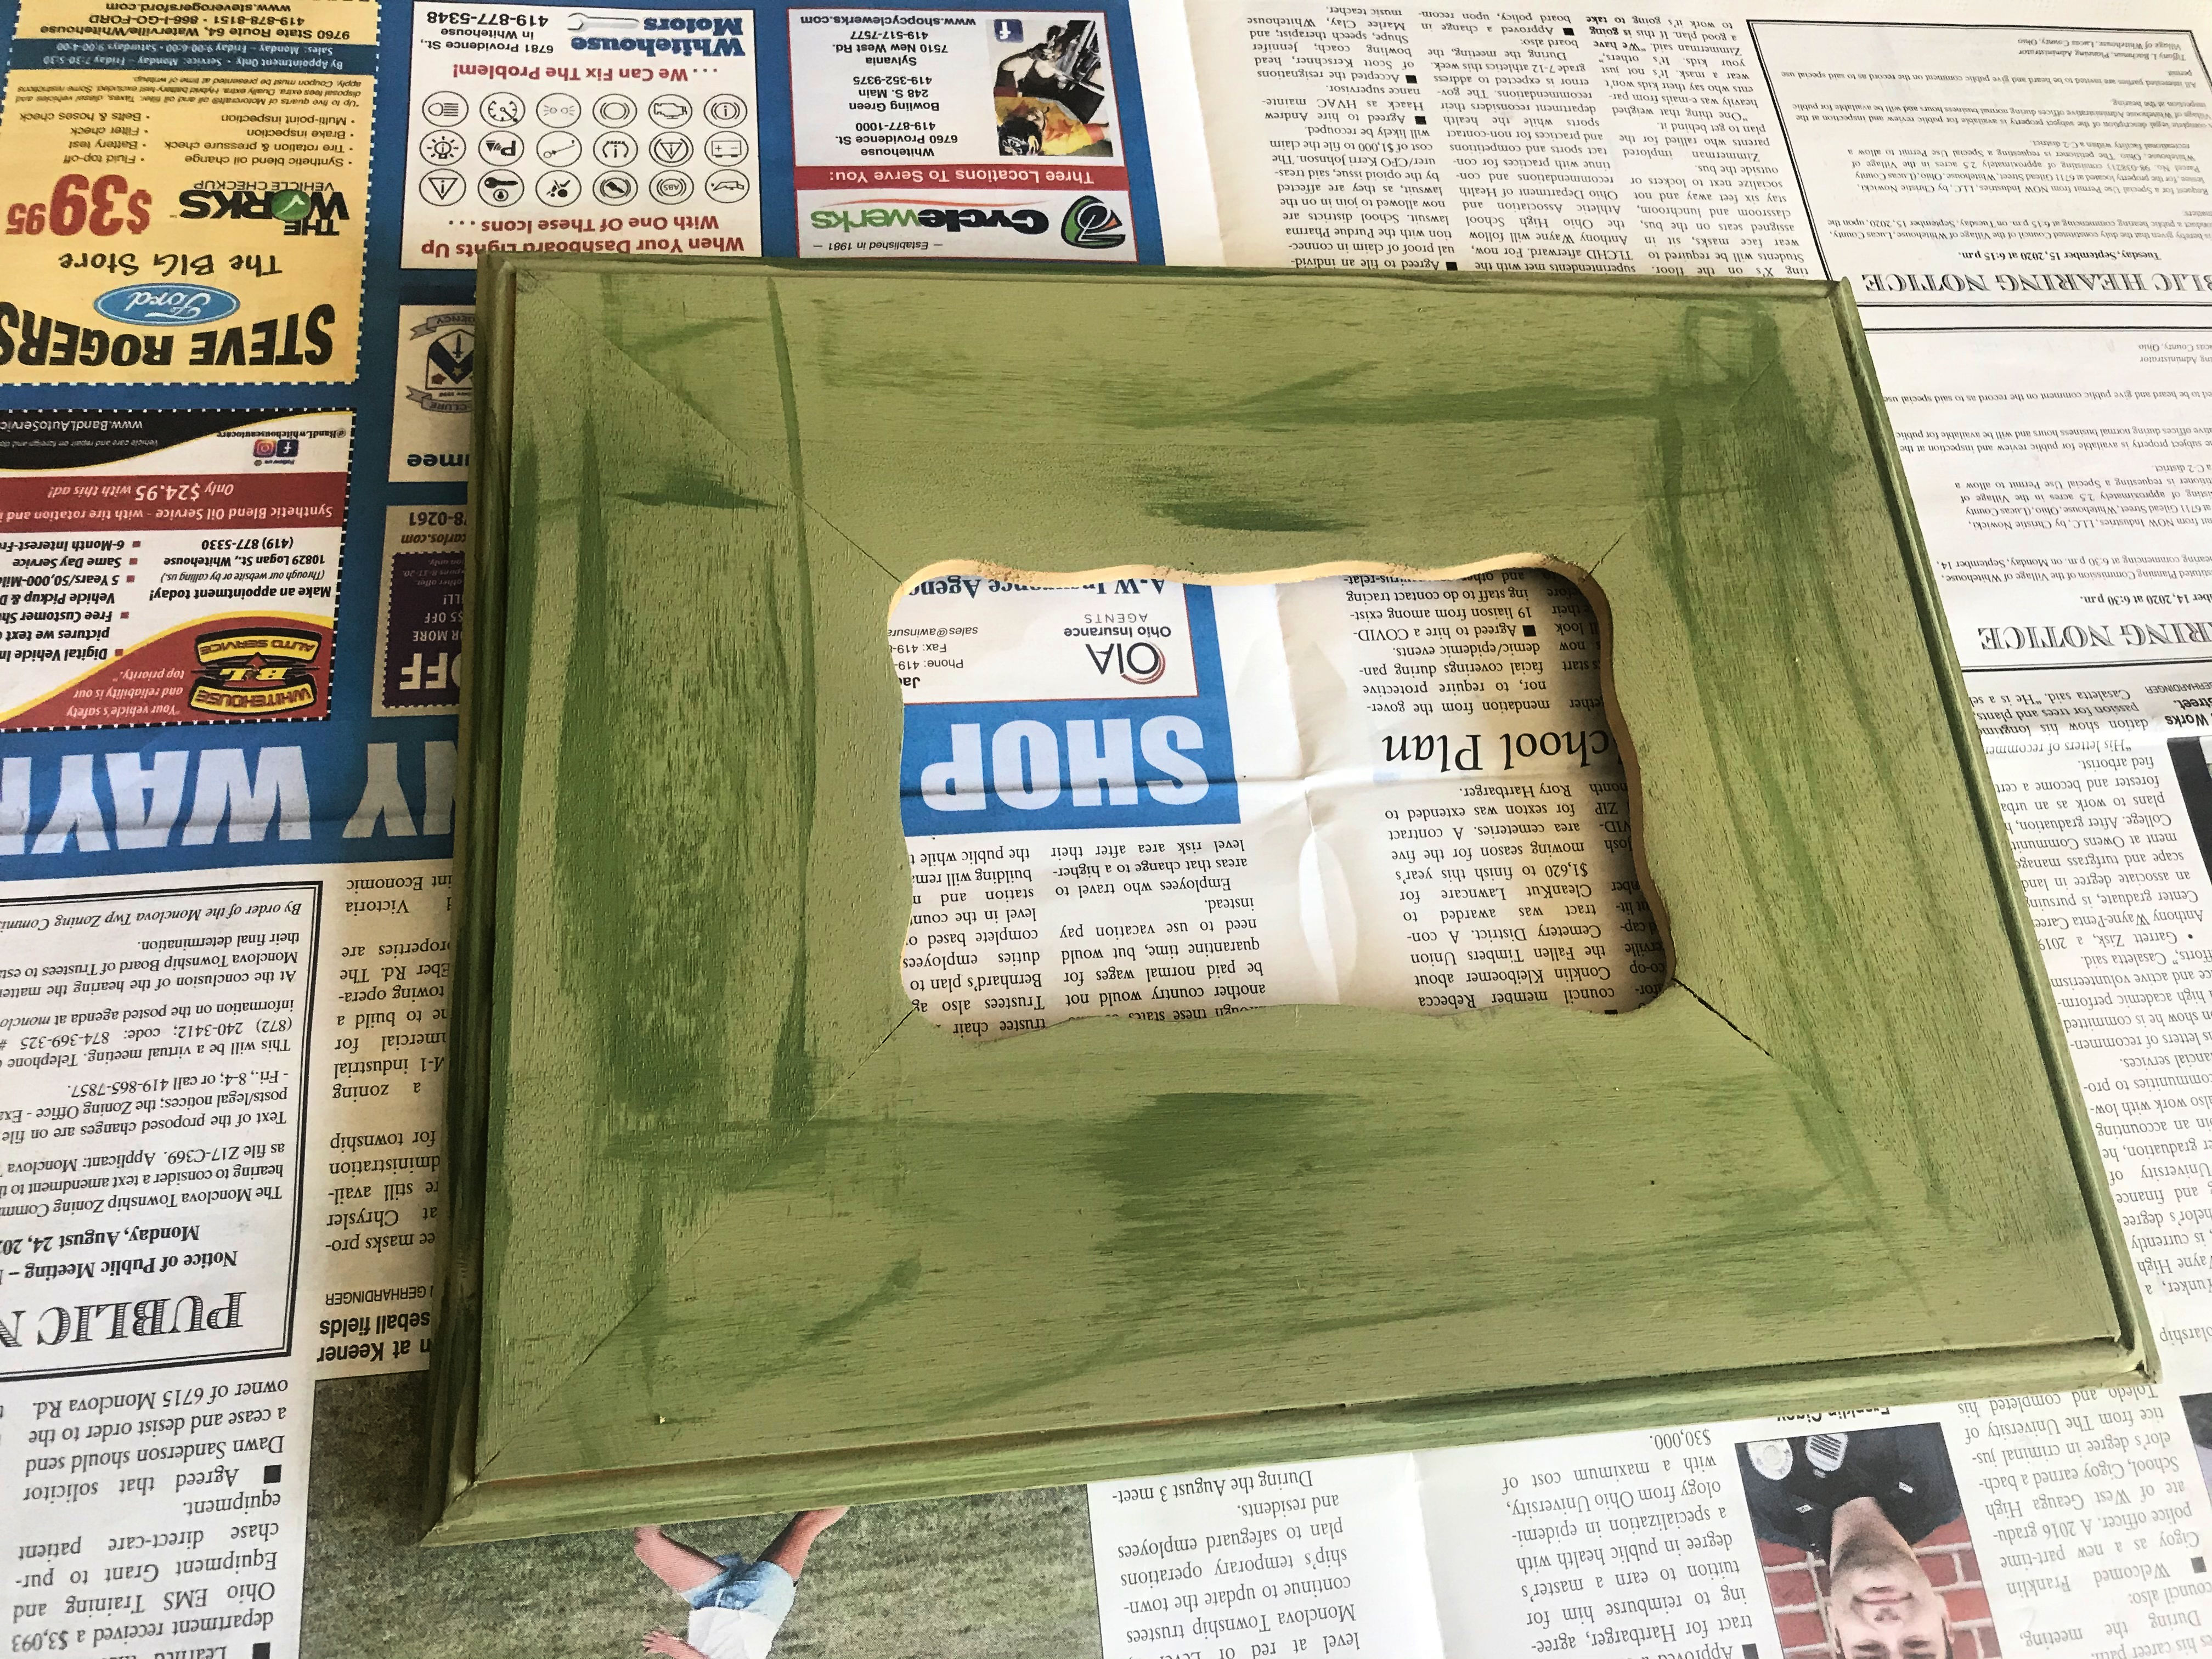
As we slowly remodel rooms in our fixer-upper farmhouse, I am taking stock of all the old decor we have in storage. In that process, I realized we have lots of picture frames. Even though it’s tempting to haul a bunch to a resale shop, some just needed a freshened-up look. Rather than buying new, I just decided to re-paint what I had and used a few things I purchased at Michael’s, links below.
For this DIY picture frame makeover, here’s what I gathered.
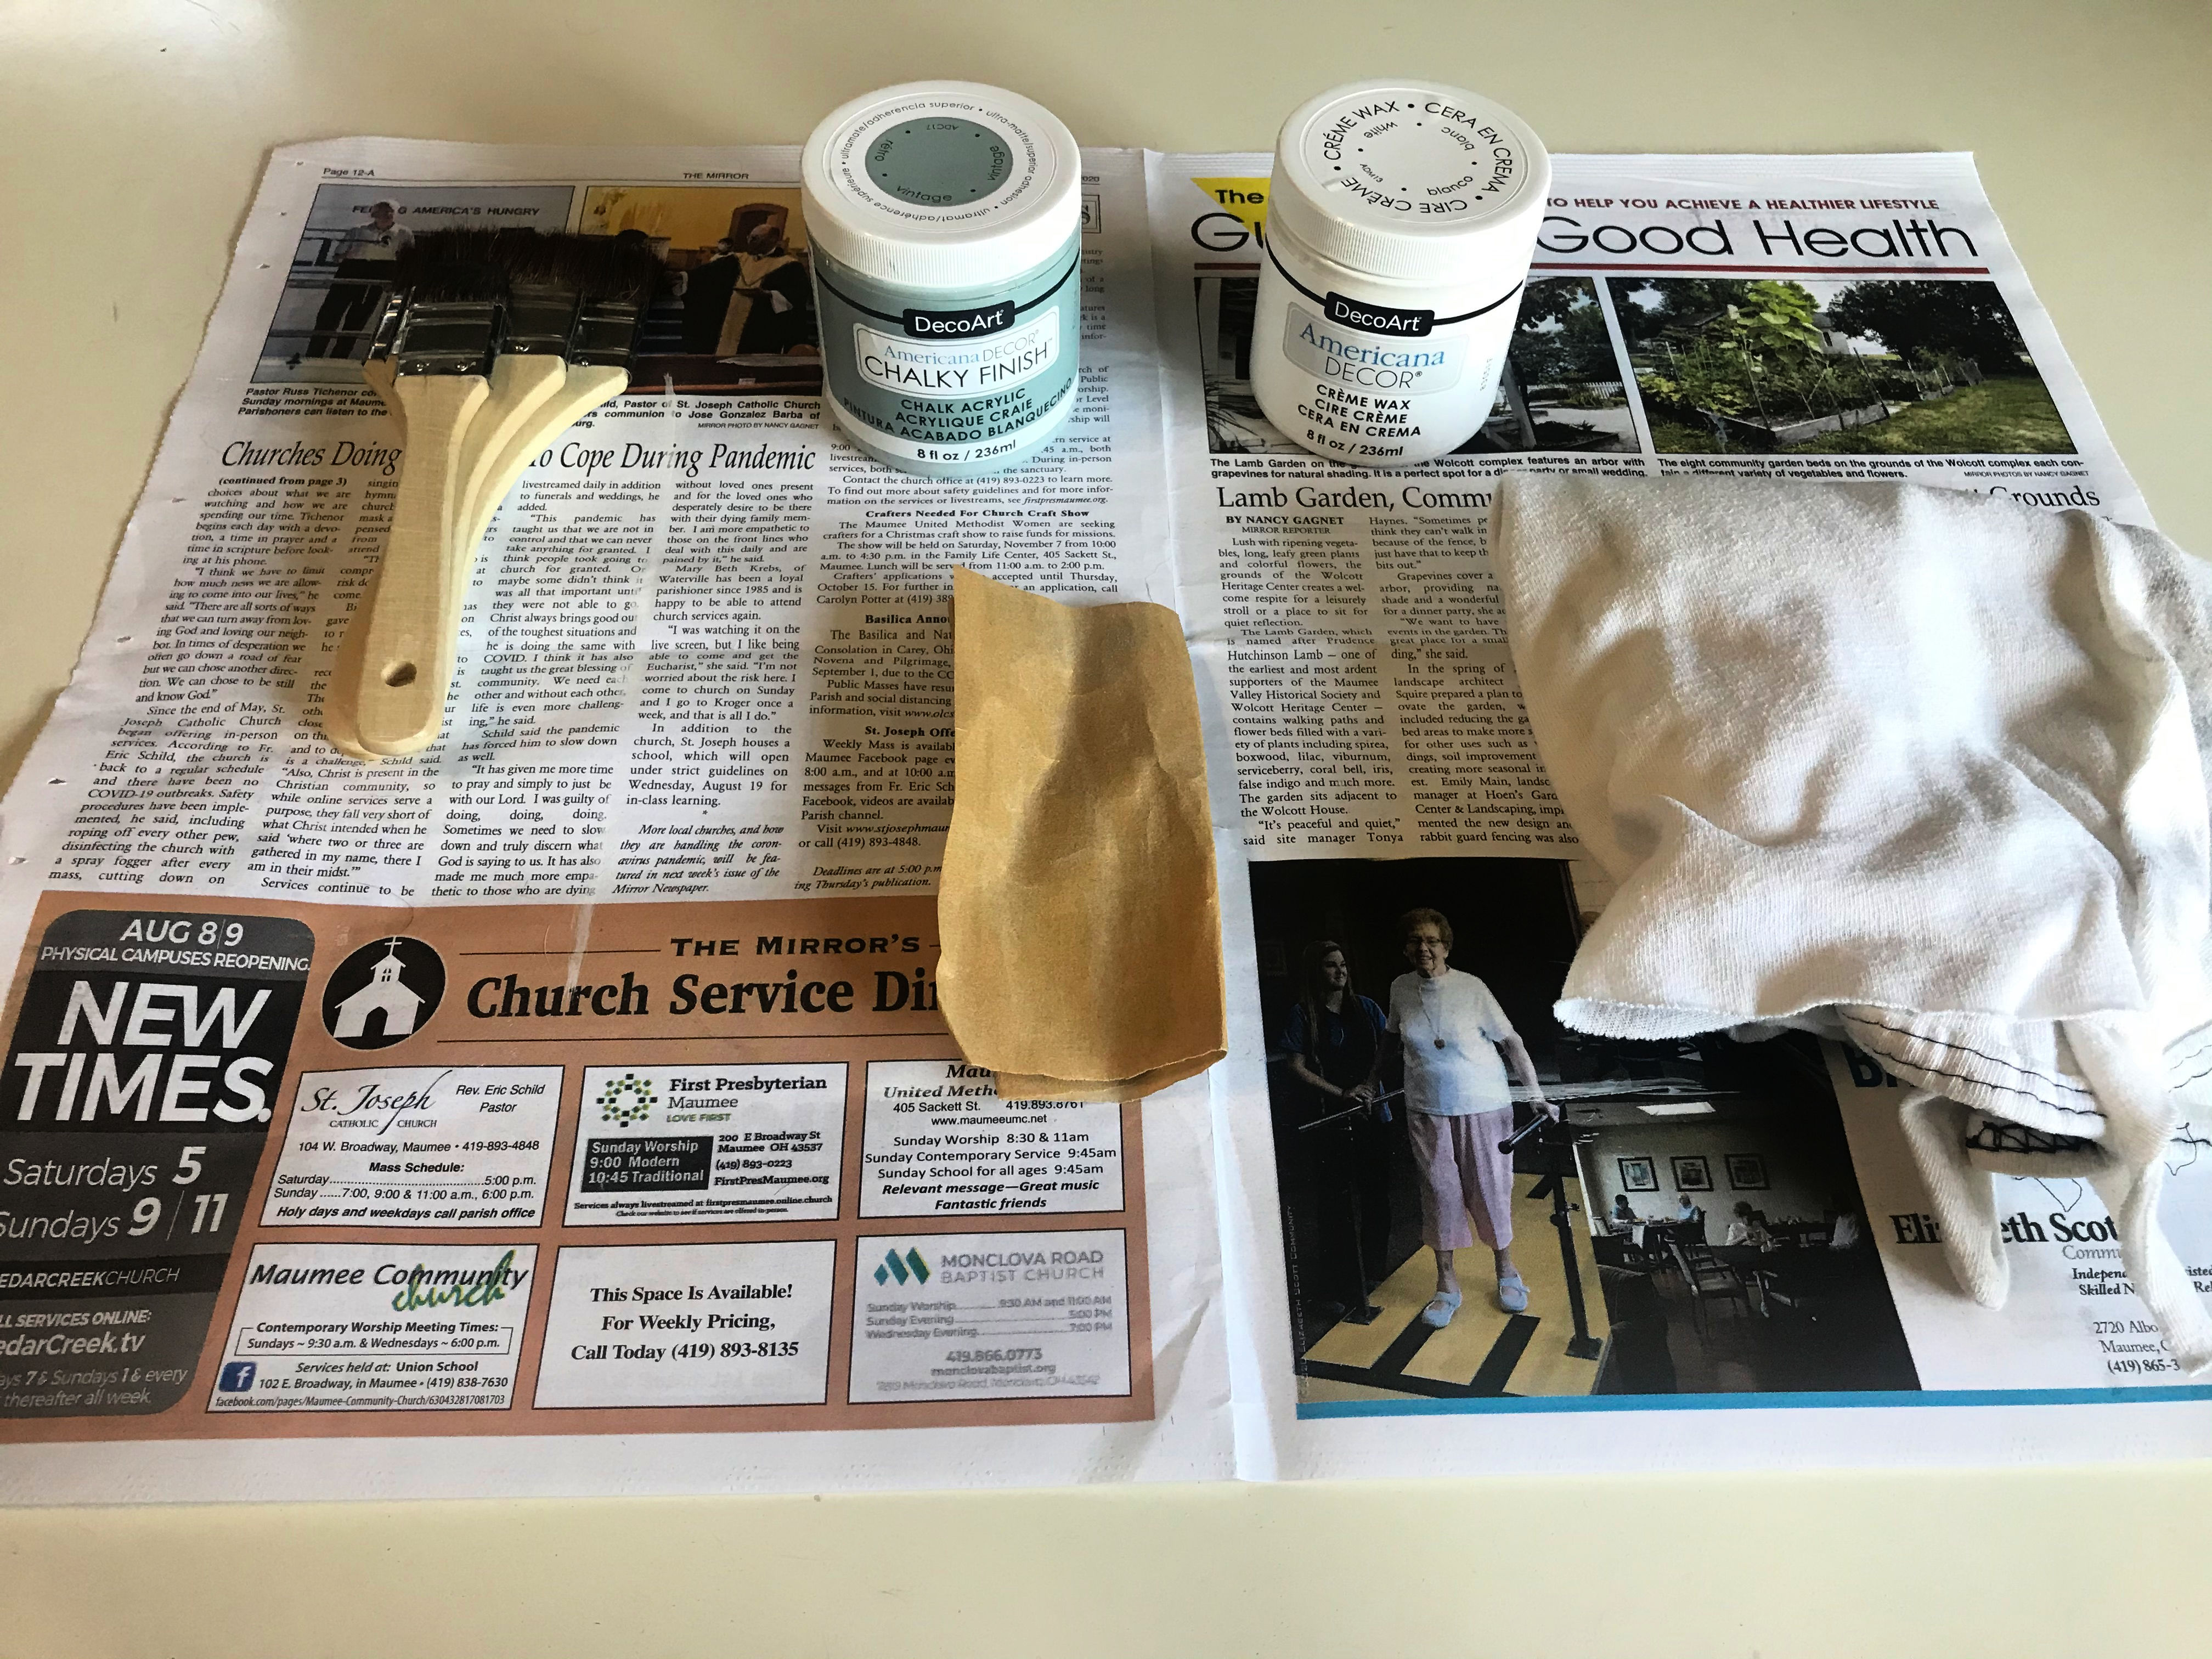
- Old newspaper
- Outdated picture frame
- A pair of utility or plastic gloves
- A paintbrush
- Fine grit sandpaper
- Chalk paint
- Wax sealant
- Soft rag or old t-shirt
How To Do It
- Start by protecting your project surface with a layer of newspaper or another protective cover.
- Next, wipe down the picture frame to remove any dust.
- Remove the glass and backing and set aside.
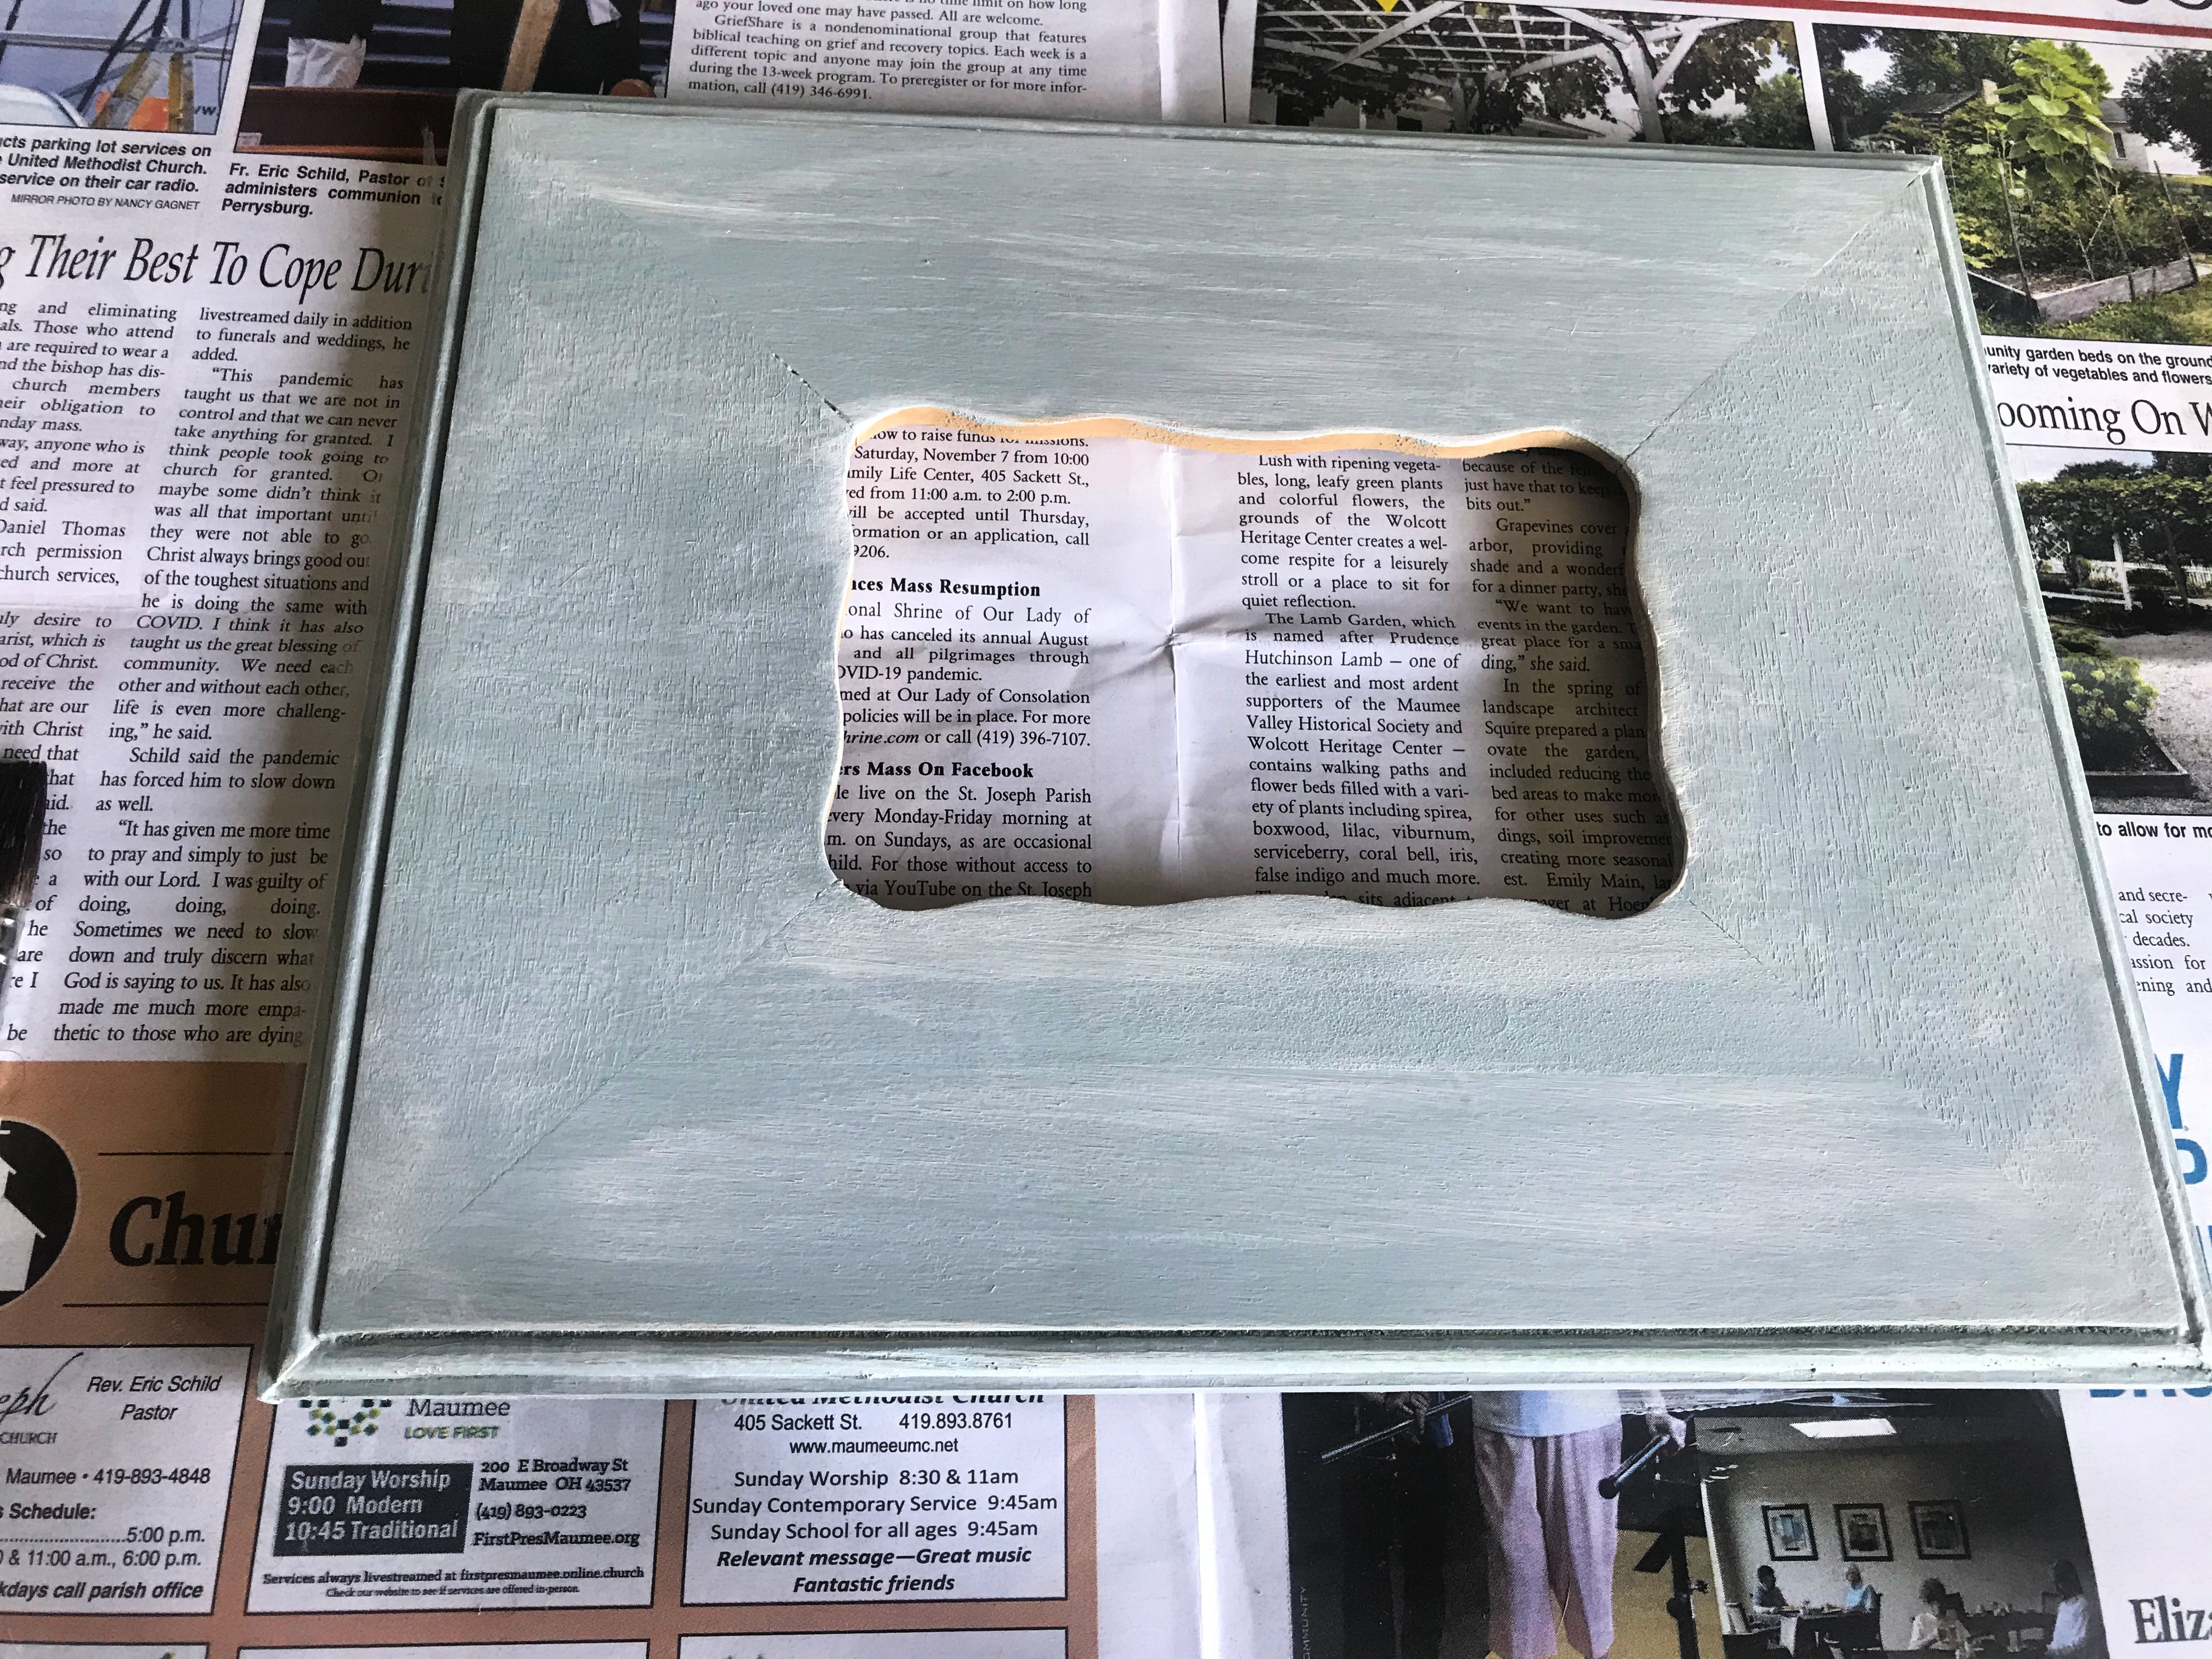
- Shake or stir the chalk paint and brush on your first coat. The paint tends to darken as it dries. On my picture frame, I used the color Vintage, which is a soft seafoam greenish-blue. I love this color and plan to use this chalk paint on a few other DIY projects coming up in the near future.
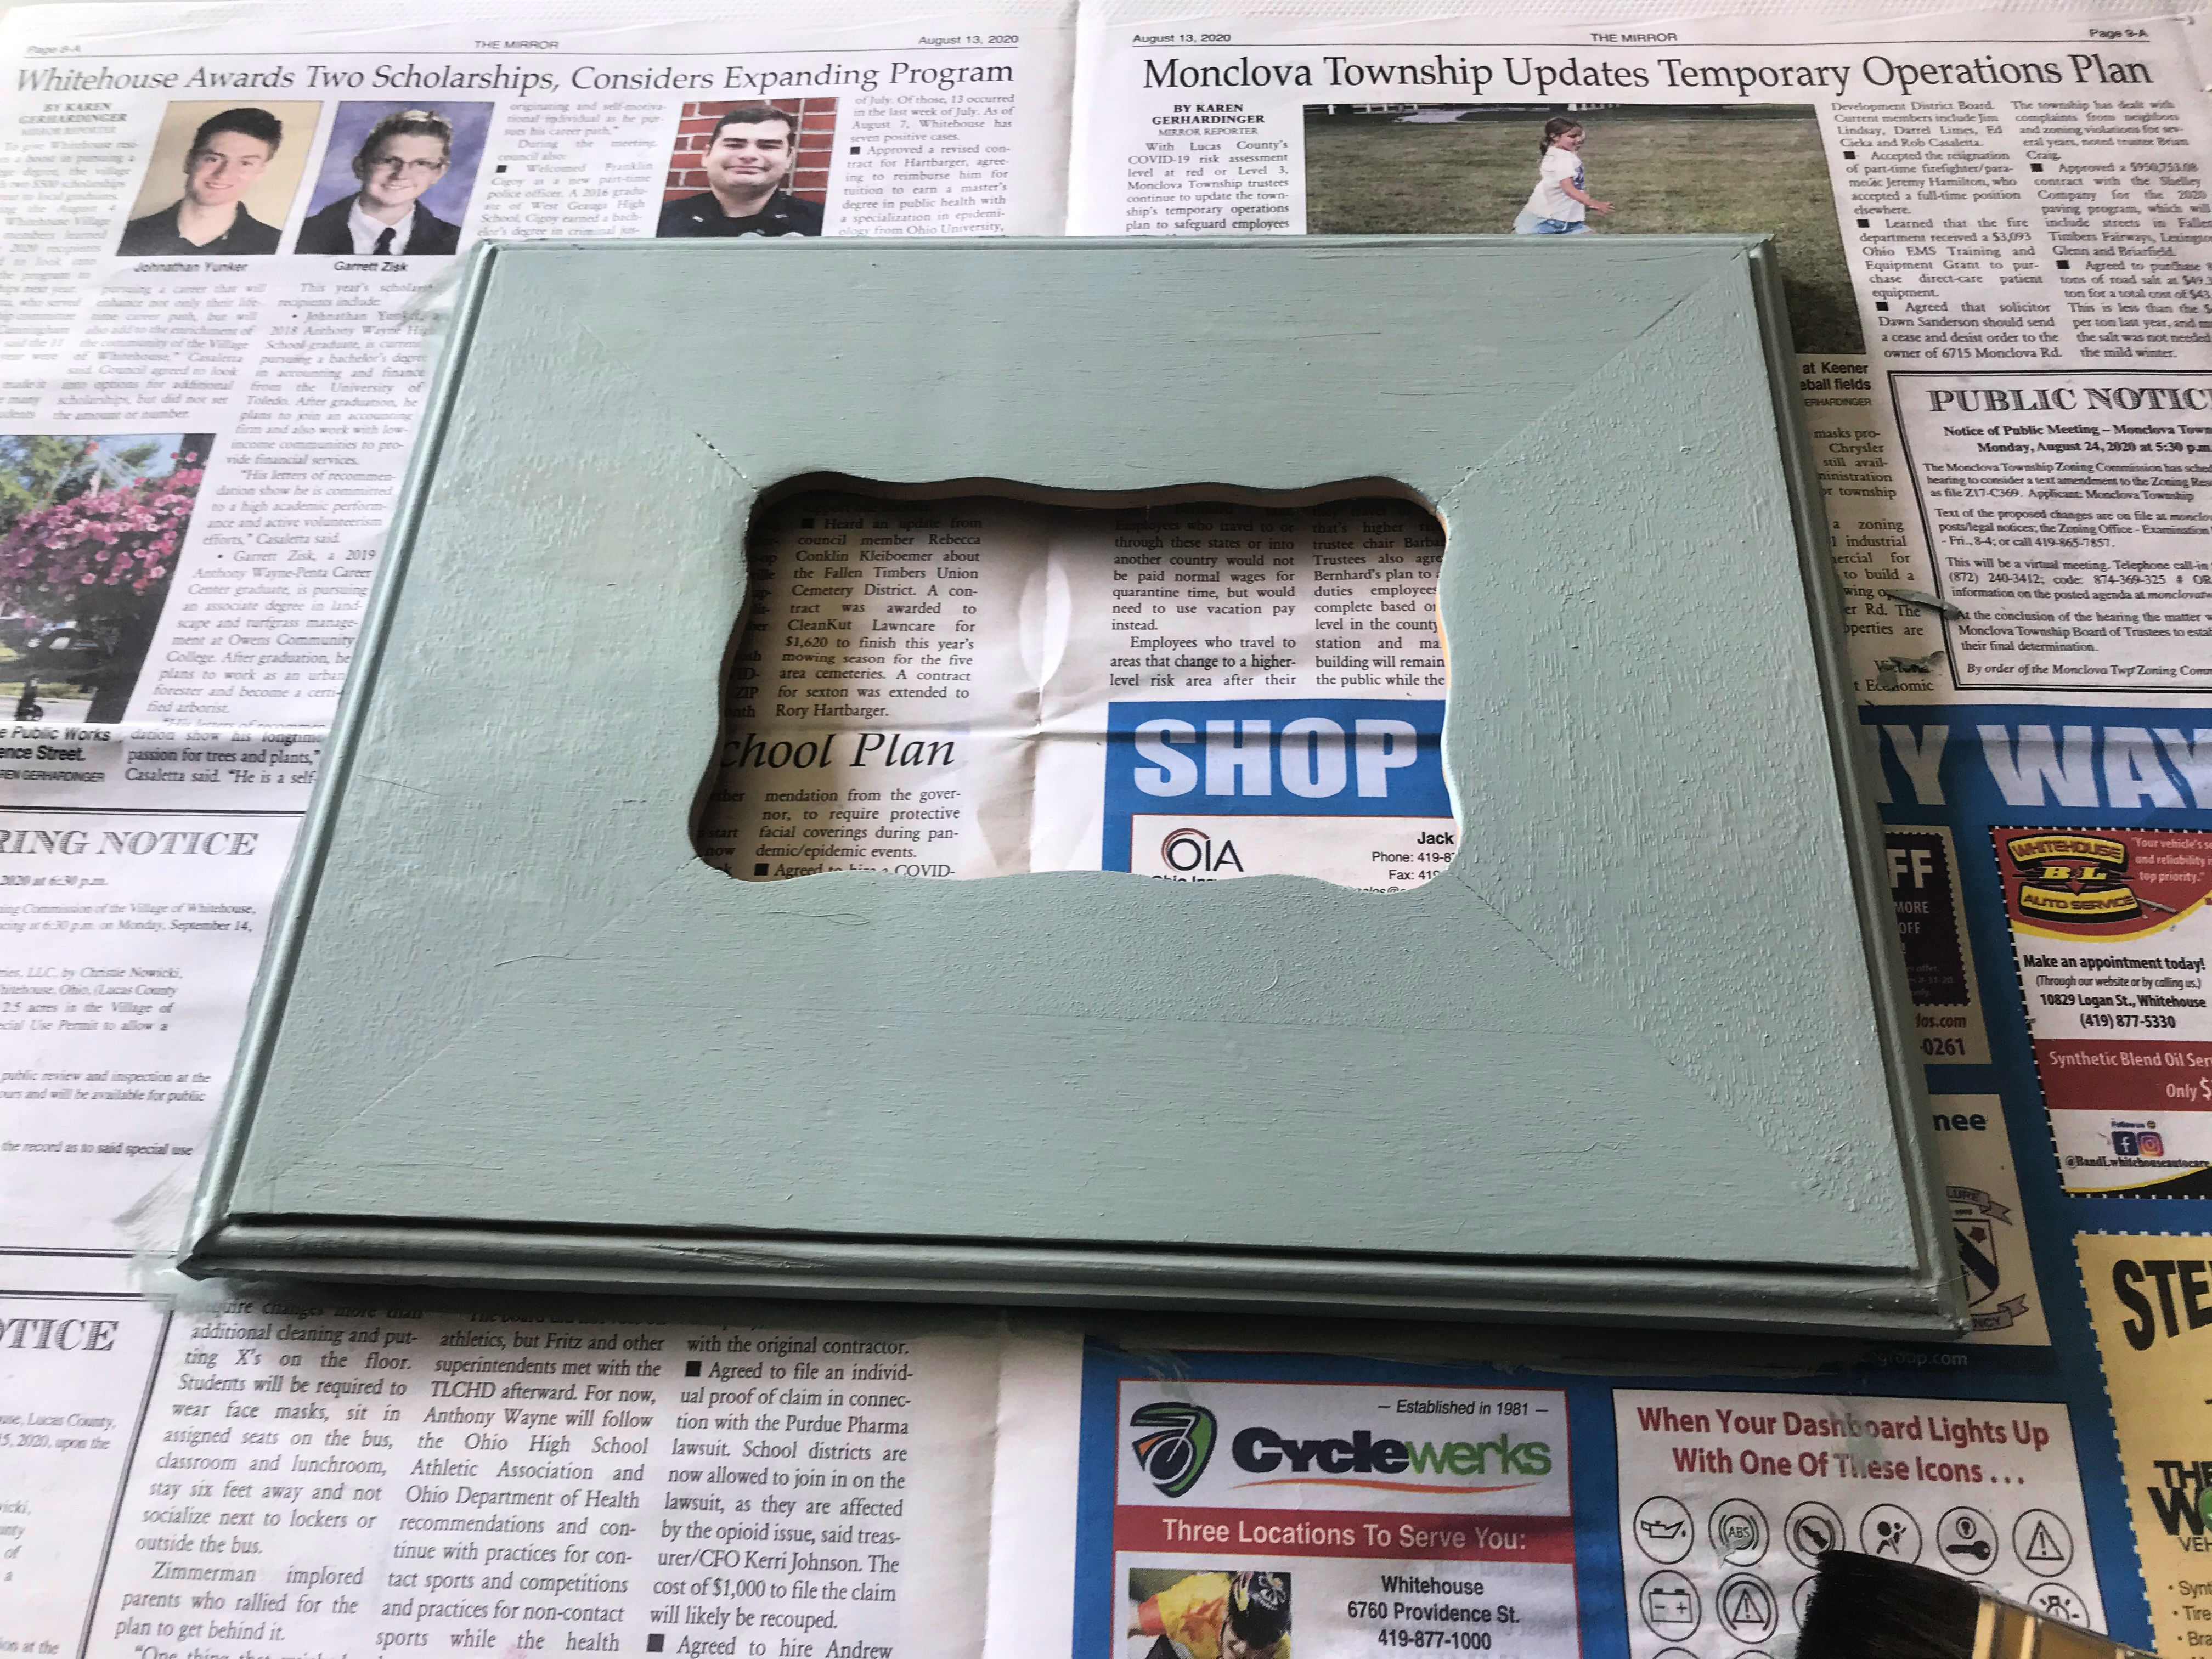
- Wait until it dries and then apply one additional coat, making sure you cover the edges and get into the grooves of the frame.
- Once your second coat is dry, it’s time to sand. You’ll want to put on some gloves and grab a sheet of fine-grit sandpaper. I like to fold it in thirds to get a better grip on it. Sand just around the edges to give it a distressed look or go over the entire surface if you want to make the distressing more obvious. I wanted to reveal just a hint of the green paint underneath my fresh paint layer.
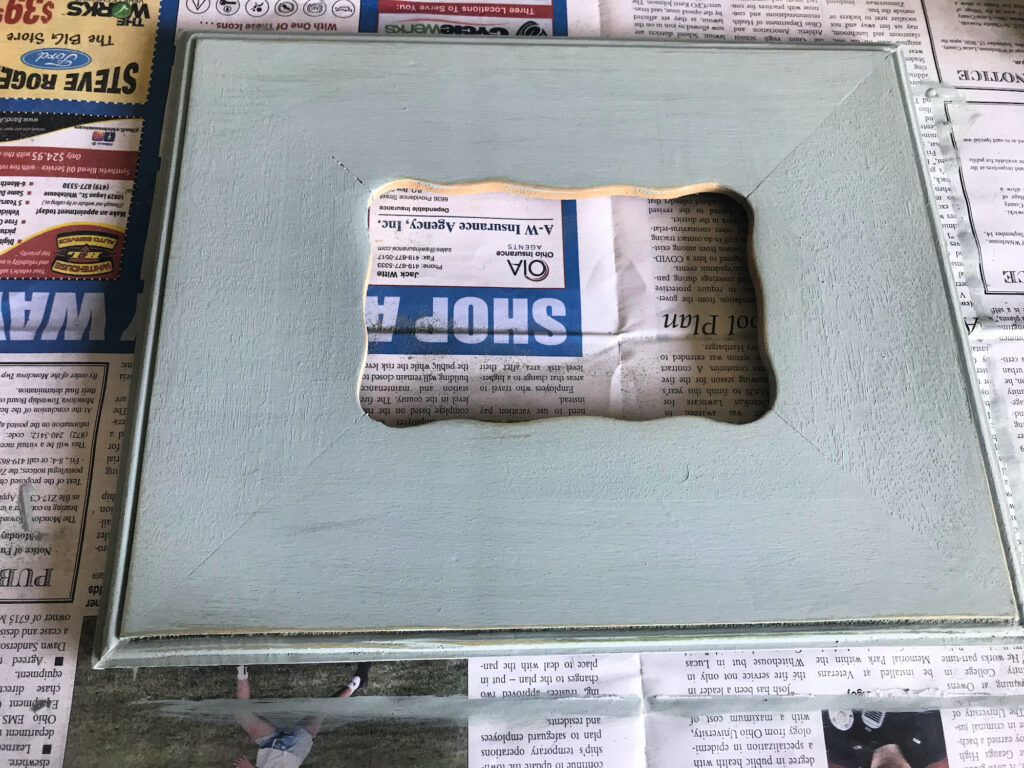
- Using a soft rag or old t-shirt piece, wipe off any sandpaper residue. At this point, I put down a fresh sheet of newspaper.
- Next, if desired, apply a coat of wax sealer. I used white to soften the color even more, using larger, less uniform brush strokes. NOTE: Chalk paint comes off easily so I do recommend sealing it. You can use clear if you don’t wish to alter the color.
- Once the wax coat dries, take your t-shirt piece and gently buff the surface to add a little shine to the finish.
- Replace your glass and frame backing and you’re done.
Voila! It’s gratifying to do a simple project like this one. Just a simple coat of paint and the wax finish gives this frame a completely different look.
Watch the Video
So What Am I Doing With My Picture Frame?
Ah yes, that. This is just one frame that’s going to be part of a gallery wall in our upstairs hallway. Here’s what the hallway looks like now.
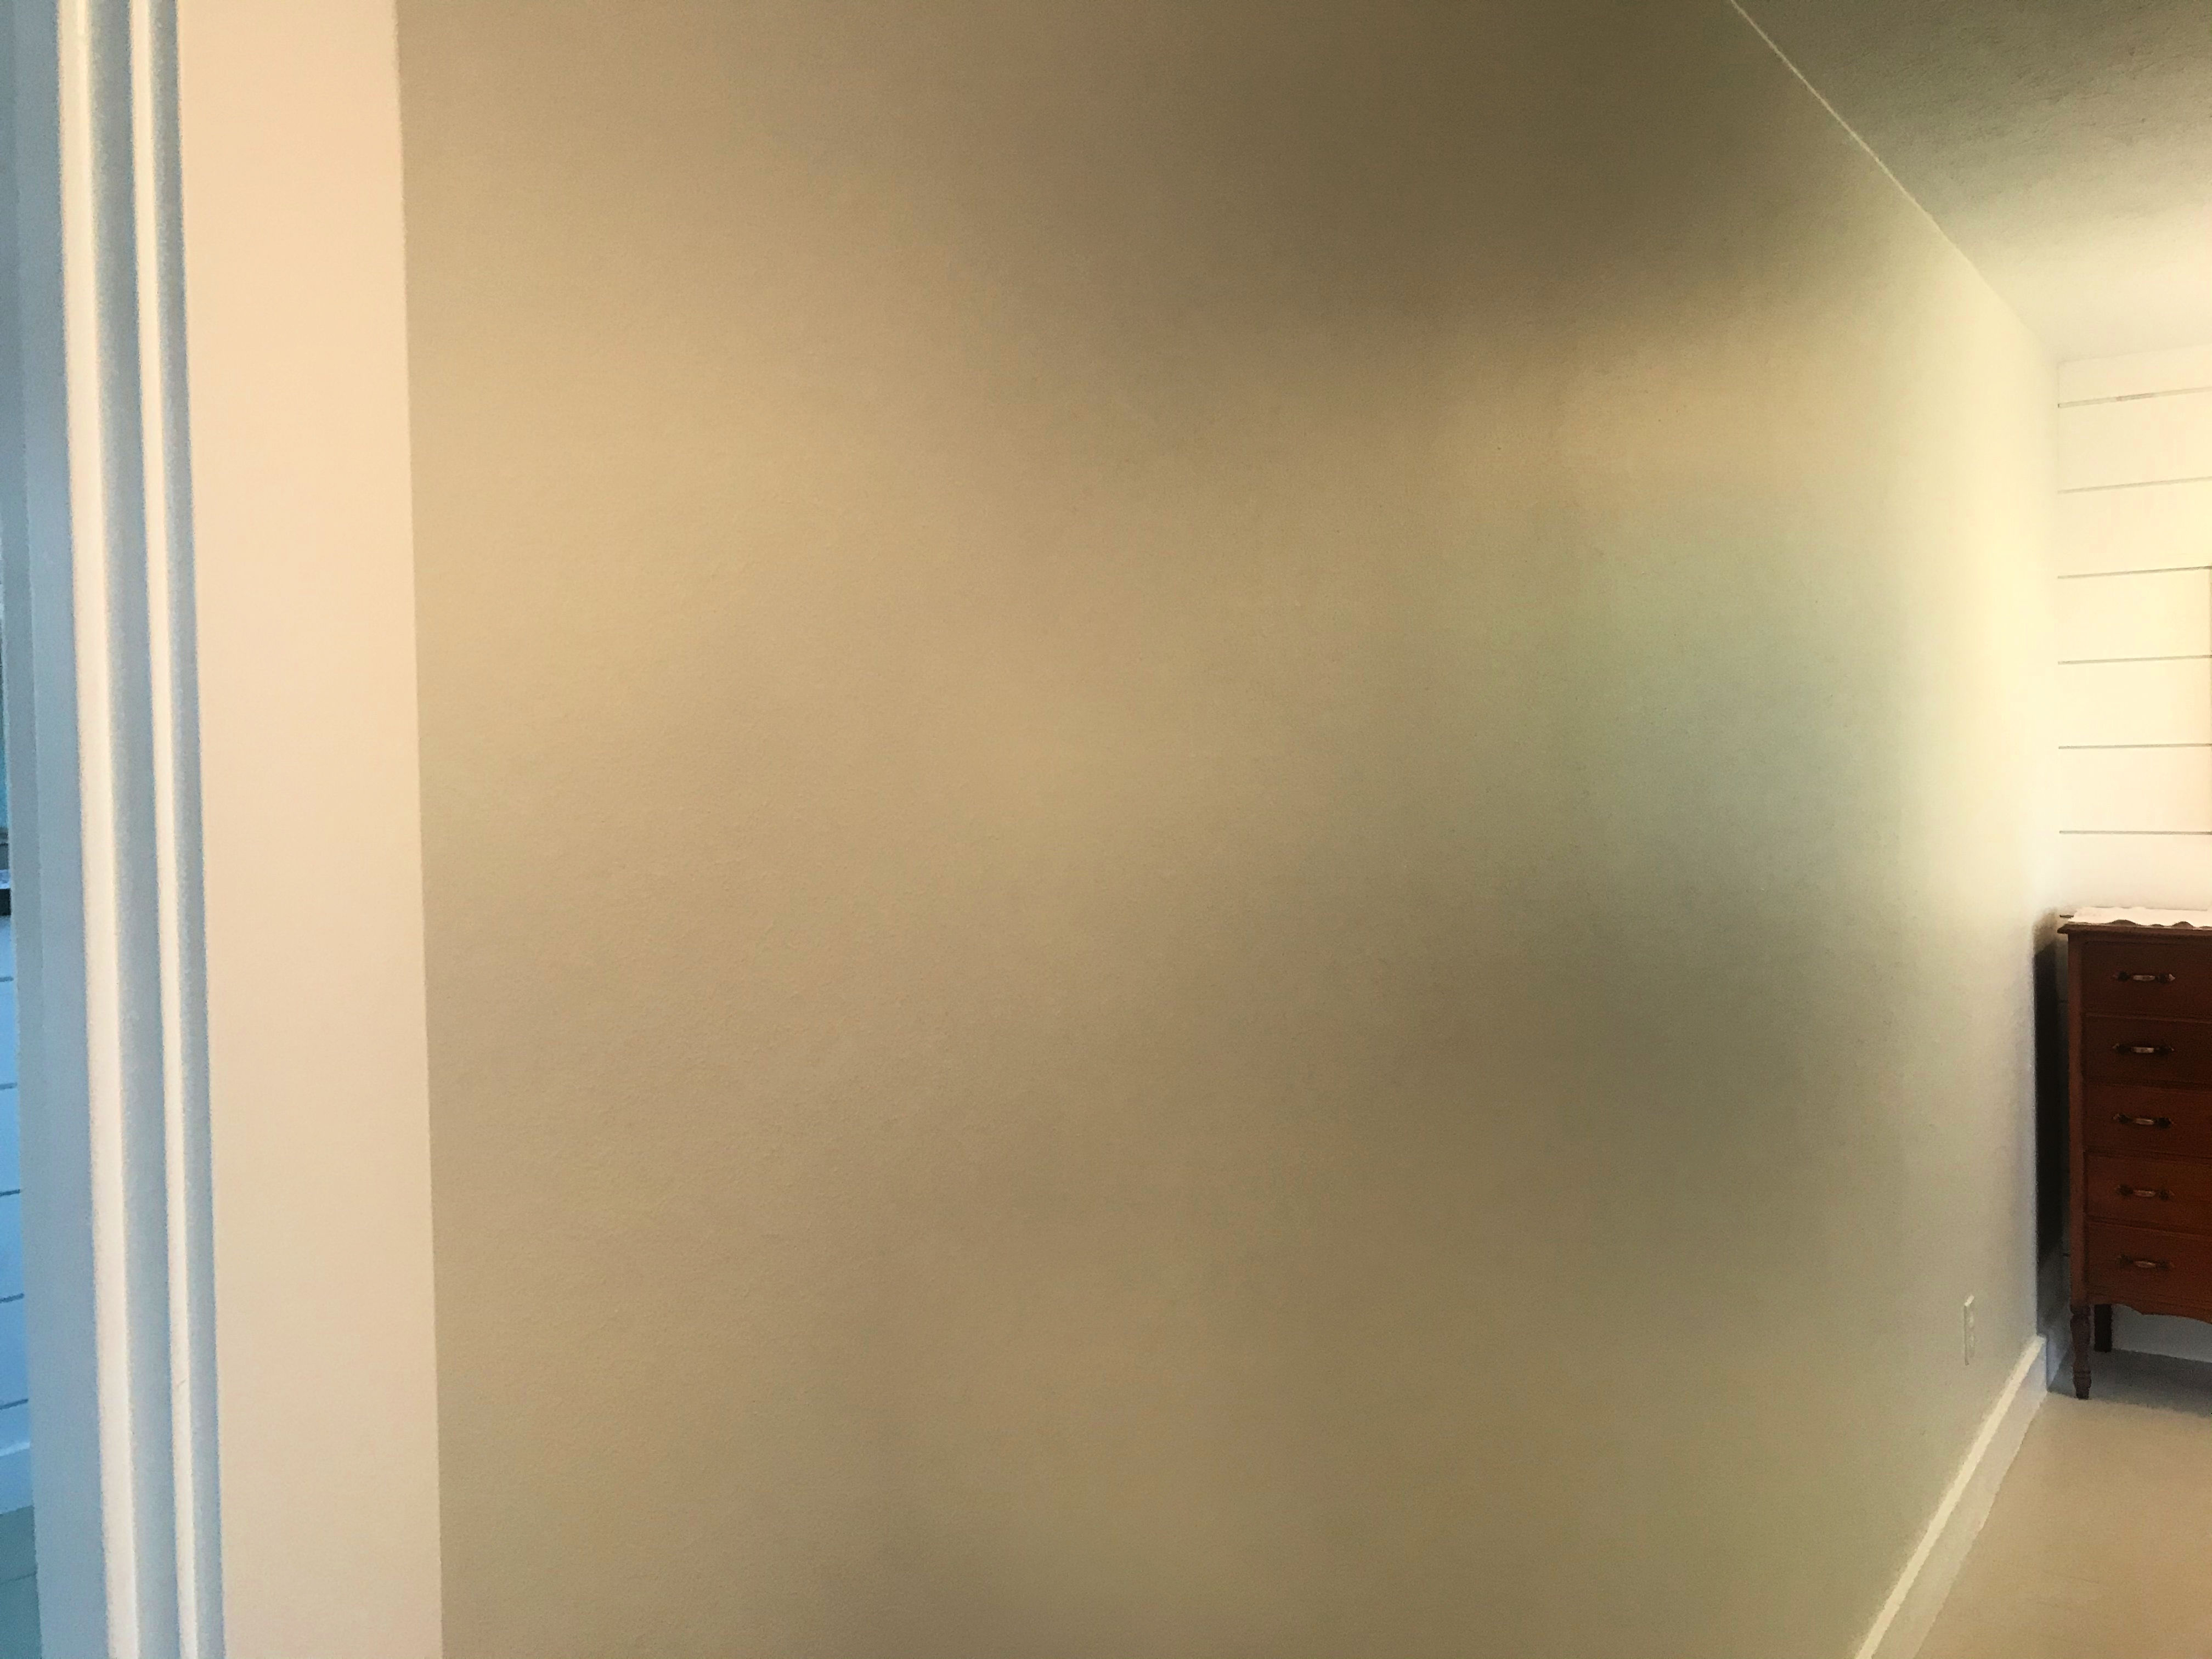
A big, empty slate, freshly painted. There’s something about an empty wall that I find equal parts inspiring and intimidating. Inspiring because it’s untouched and you can make it look any way you want. Intimidating for the very same reasons. The ideas, friends. The decisions to make.
Stay tuned to see what we do with this big, empty space.

Leave a Reply