Seed starting is anxiety-provoking for the new gardener, so to make you feel more confident, I’m sharing tried, true, and easy seed starting tips that work for me every time.
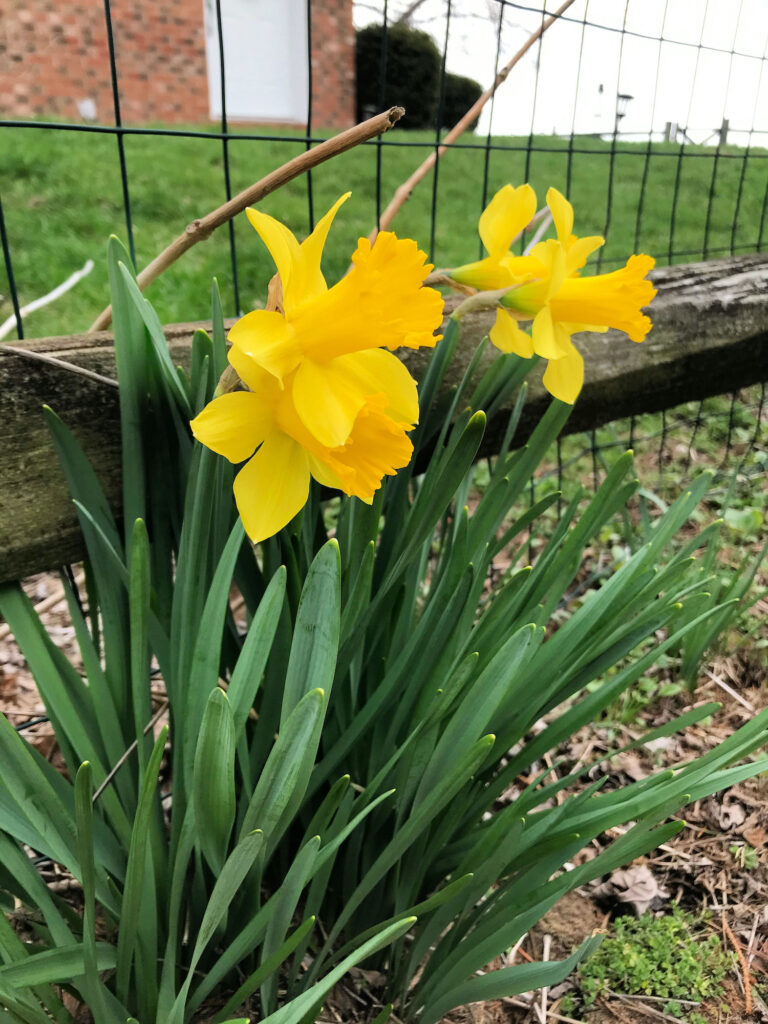
It’s officially spring, and it’s like a starting gun went off in nature. My tulips and daffodils are coming up, the birds are chirping like nobody’s business, and the grass is starting to green. Here in Northwest Ohio, it’s the perfect time to get a few seeds started.
My gardening worksheet keeps me organized and on task. A quick glance this past weekend indicated that it was time to start my tomatoes, spinach, snap peas, and swiss chard. If you missed my worksheet post, you should download it through the link above, print it out, and fill it out to make sure you’re not starting too early for your own zone. Then hop back here to catch a few tips.
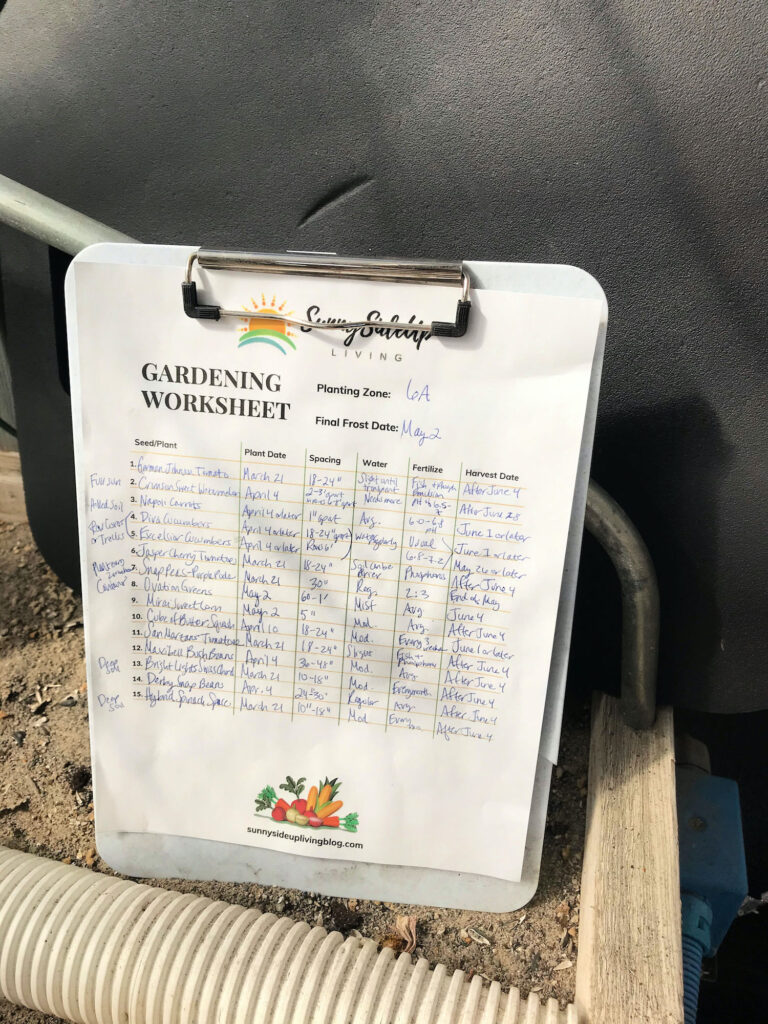
With gardening, even with best practices, there is more than one way to “skin a cat” as the saying goes. I need to be very upfront in saying that my methods for easy seed starting tips work for me since I garden organically. Chemical-laden fertilizers are not for me. I tend to be very resourceful, too, so if you like to save time and money, you’re in the right place for gardening advice.
Timing Is Important
The gardening worksheet and your seed packets are very important to reference. You should know your zone’s final frost date so you can back-date how early you can start your seeds. The good news is not every seed gets started at the same time. You can be glad about that fact, so you can space out your gardening tasks a bit!
Your goal as a gardener should be to plant from seed or transplant seedlings into your garden at a time for optimal harvesting. For example, you can plant tomatoes past the date they should technically be in the ground. However, you need to temper your expectations if you do plant them later. Planting later means you’ll also be harvesting later in the summer when the sun’s patterns aren’t going to ripen them as quickly. And you won’t be able to enjoy them as soon either!
Seed Starting Equipment
Before you run out and buy a bunch of stuff you don’t need, here are the essentials:
Seed Starting Cells and Trays
We were extremely fortunate that the previous owners of our homestead were avid gardeners. They left us with all kinds of helpful supplies, cells, and trays, even a shed they converted into a greenhouse. Unless trays and cells get really banged up, you can clean them post-season and use them for years to come. I have seed trays and small pots of various sizes that I’ve been using since we moved here. If I had to buy new, though, I would go for these, since they have handy plastic covers that act as micro greenhouses. I also like these biodegradable peat pots if you don’t have space to store unused pots at the end of the season. I don’t personally like the tiny cell variety of pots because I ideally only like to transplant once.
Seed Starting Mix
I blend my seed starting mix with a combination of two products. The first is a good-quality potting mix.
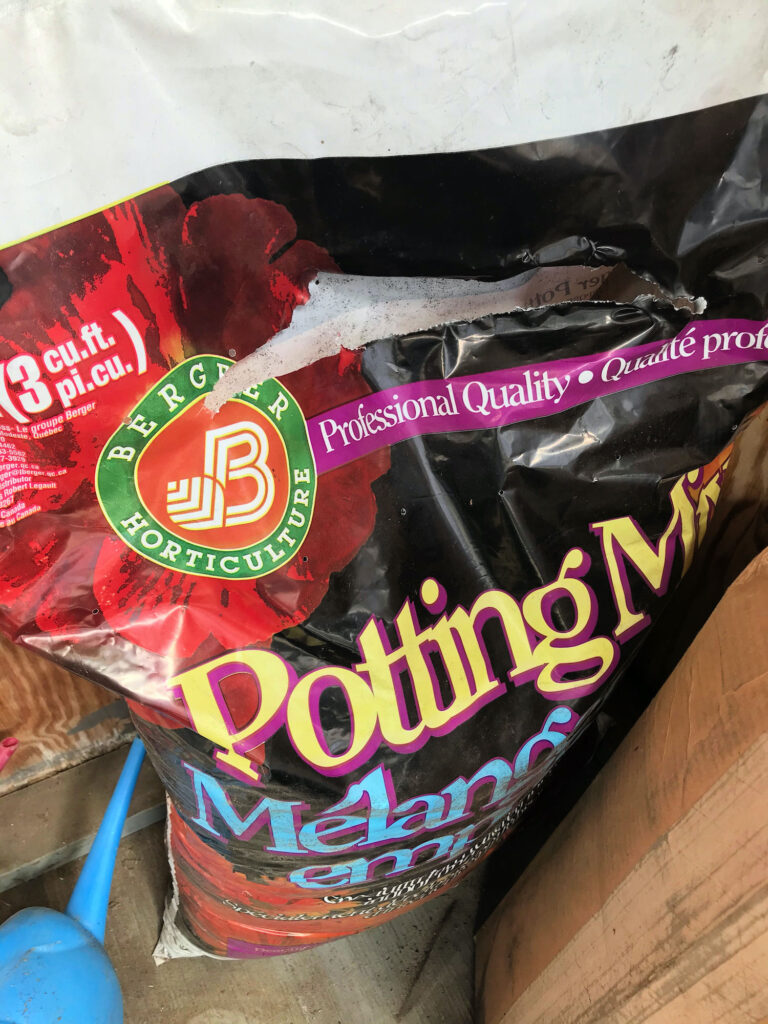
I like it because it’s already a blend of several ingredients: compost, perlite, and manure. It’s lightweight so your seeds can breathe, and you can buy bags of it in various sizes, depending on how much you need. Check the back of the potting soil bag for all of the ingredients before you buy.
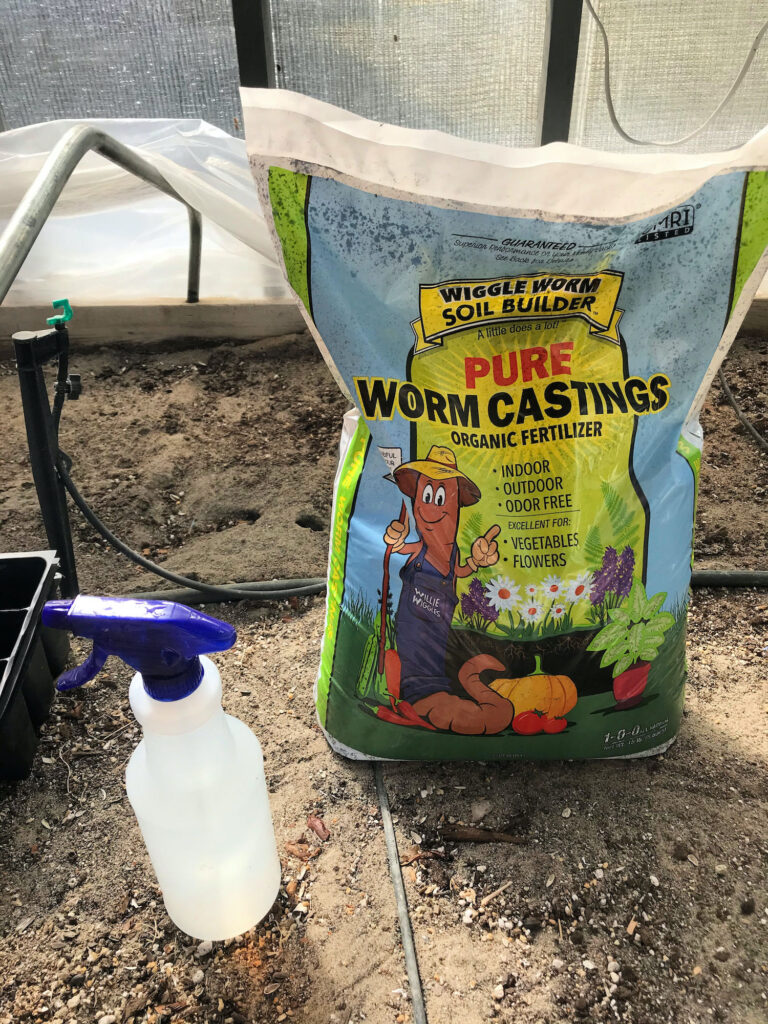
The second product is worm castings. It sounds completely disgusting but it’s a really rich source of nutrients for your plants that help them grow well. I create a 1:1 blend of these two products in a bucket and use that to fill the seed cells. Again, this is my preferred mix, but I know plenty of people who plant with just blended potting soil.
Trowel
Durable trowels like this one from Fiskars are my gardening tool MVPs. They make easy work of scooping the seed mix into those narrow cells. They are indispensable gardening tools you’ll find multiple uses for throughout the gardening season.
Spray Bottle
When you first plant your seeds, you don’t want to douse them tons of with water. An inexpensive glass or plastic spray bottle mists just the right amount of water on the soil.
Plant Markers
Unless you’re only planting one type of seed, you’ll want plant markers to keep your seedlings organized. There are all kinds of plant markers out there. I like to use small plastic markers in my seed starting cells and trays since they’re a nice size and reusable.
Lights
Our converted garden shed came with lights, so we were set. Getting new seedlings a good amount of light is very important, but you don’t need to run out and spend a bunch of money on special lighting. If you’re budget constricted, yes, you can place your seed trays by a window. It’s not perfect for plants, but they’ll still grow until you can plant them safely outside. Ideally, though, if you can swing it financially, you’ll have better results using shop lights like these. They’re inexpensive, and you won’t need them right away. They’re ideal for hanging above your seed trays once your seeds have sprouted and you can put them on a timer. I’ll cover that in a near-future post.
How To Start Your Seeds
- Prepare your seed starting mix if you’re using more than just potting soil.
- Read each seed packet and fill your pots or cells with the seed starting mix accordingly. You’ll also want to pay attention to how deep each seed needs to be planted in the soil. Don’t get disappointed if some cells have dud seeds that just don’t sprout. It happens!
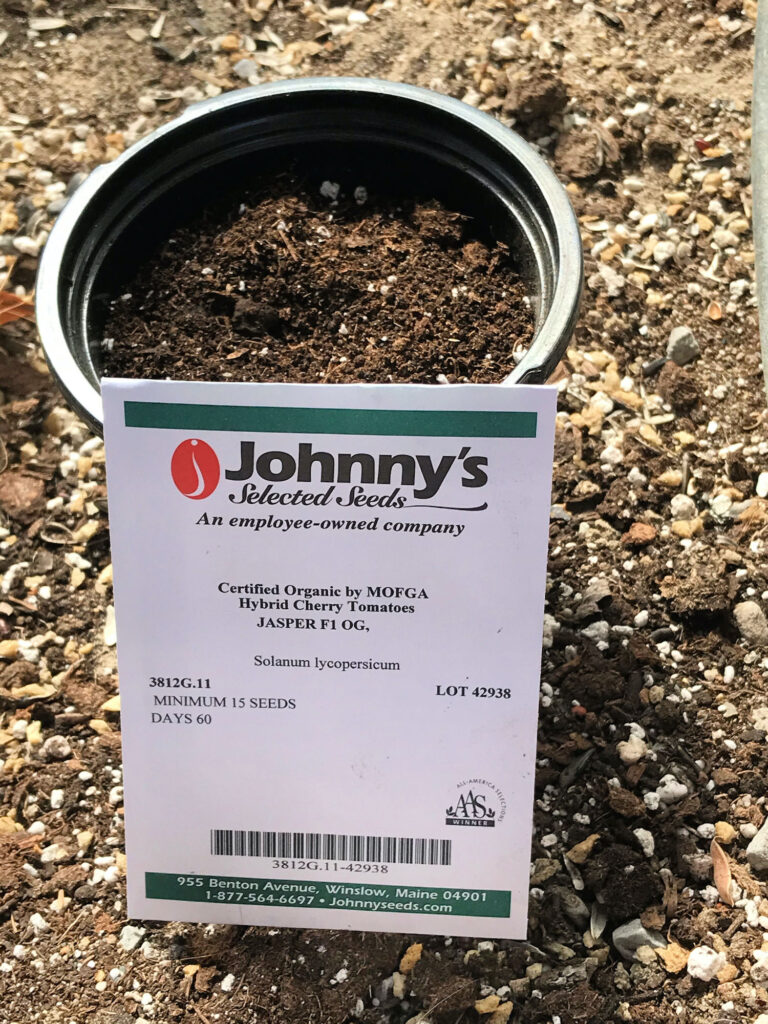
- Label your seed pods with markers
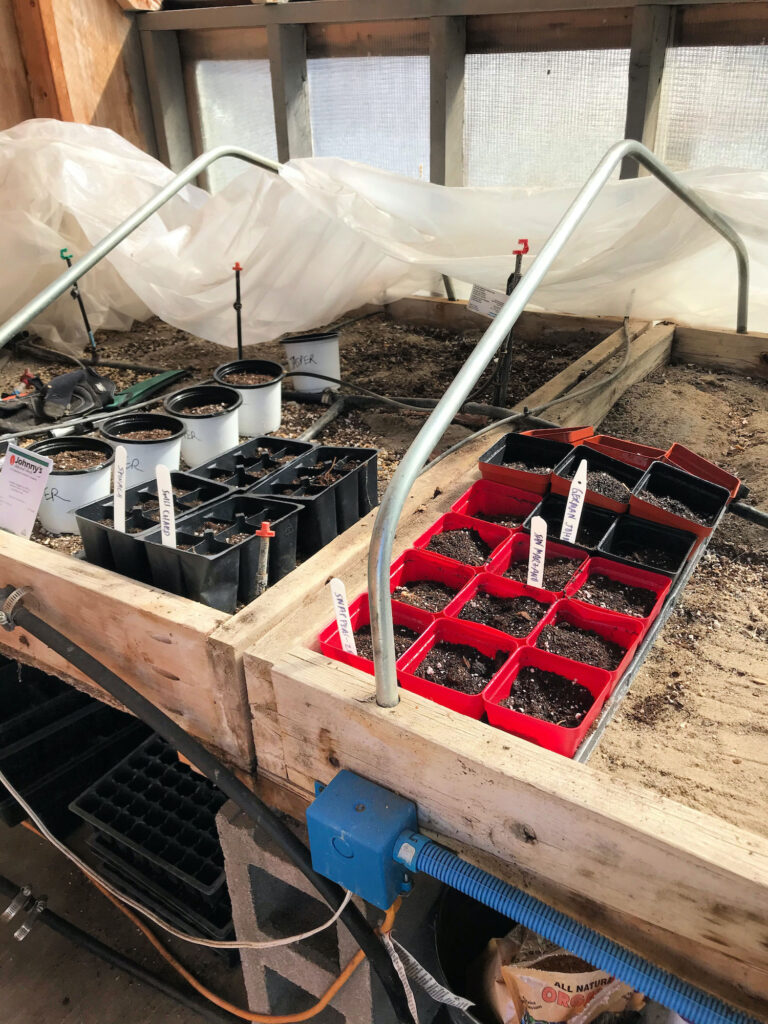
- Mist your filled pots and cells with water.
- Cover your seed pods and trays with clear plastic tray covers or plastic material.
- Depending on what you planted, keep an eye on those trays and mist them when the top of the soil is dry. In about a week or so, you’ll be rewarded with little sprouts coming up.
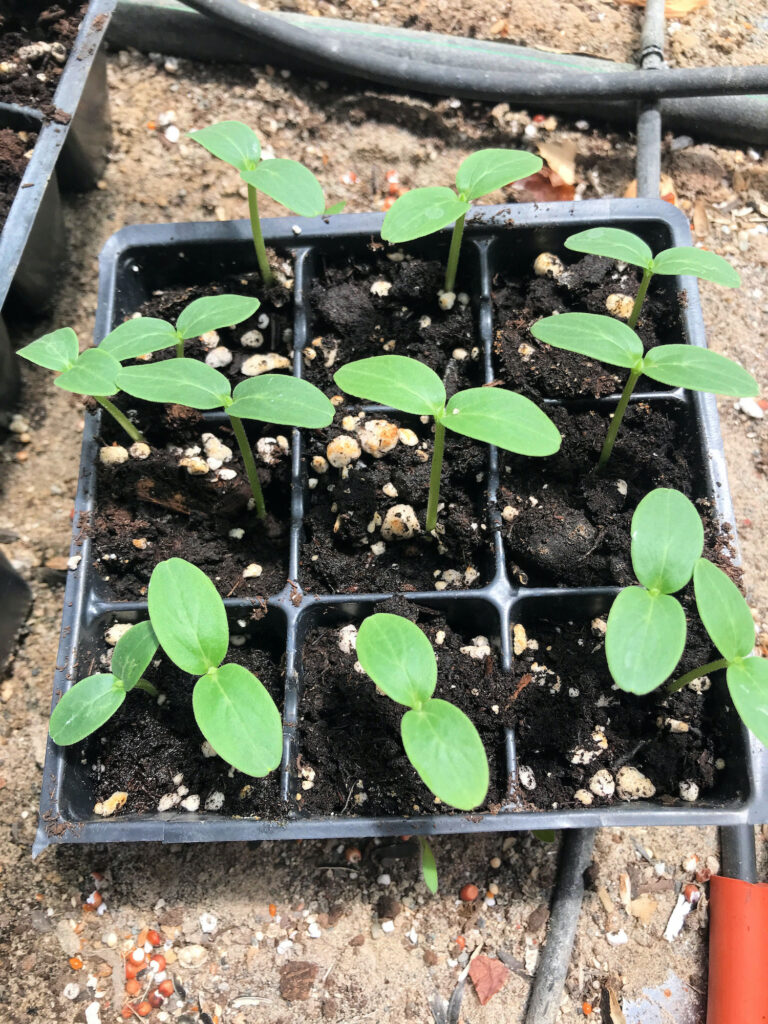
Once you see those seedlings sprout, you’ll be so excited to keep going, so stick with me. You’re on your way to getting gardening stuff down!

Leave a Reply