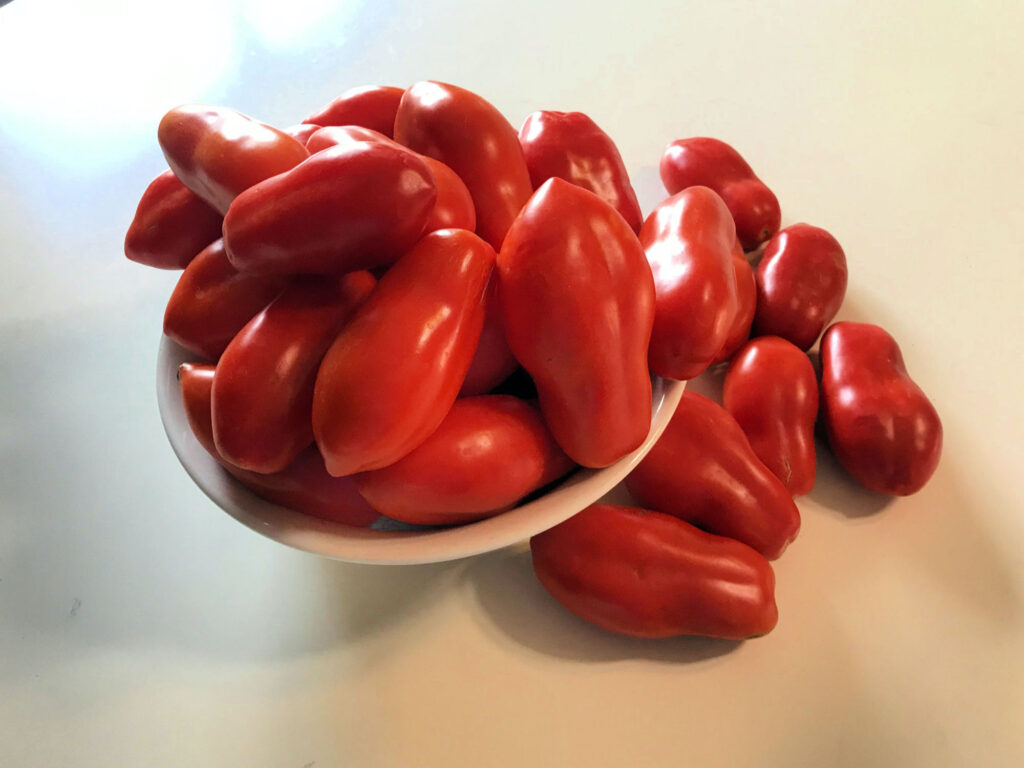
When it comes to gardening, I’m all about growing tomatoes from seed, and that’s what this post is focused on. Tomatoes are easy to grow. That makes them an ideal plant if you want to start gardening, but don’t want the overwhelm or commitment of a large garden. Without too much work, you can have tomatoes that look like my San Marzanos for sauce, salsa, and slicing. As I’ve said many times before on this blog, there’s no better tasting tomato than the ones you grow yourself!

So without further ado, here are my tips for easy tomato growing success!
Think Outside Your Local Nursery
I am passionate about supporting local businesses, but when it comes to local nurseries and greenhouses, many stock just a few tomato plant varieties. Plus, in my experience, the plants don’t always look super healthy. The other downside is that they’re plants and not seeds, which gets expensive. A packet of seeds only costs a few dollars.
When you’re growing tomatoes from seed, you’re also in control of the soil and what you feed them with. We grow all of our fruits and vegetables organically for just that reason.
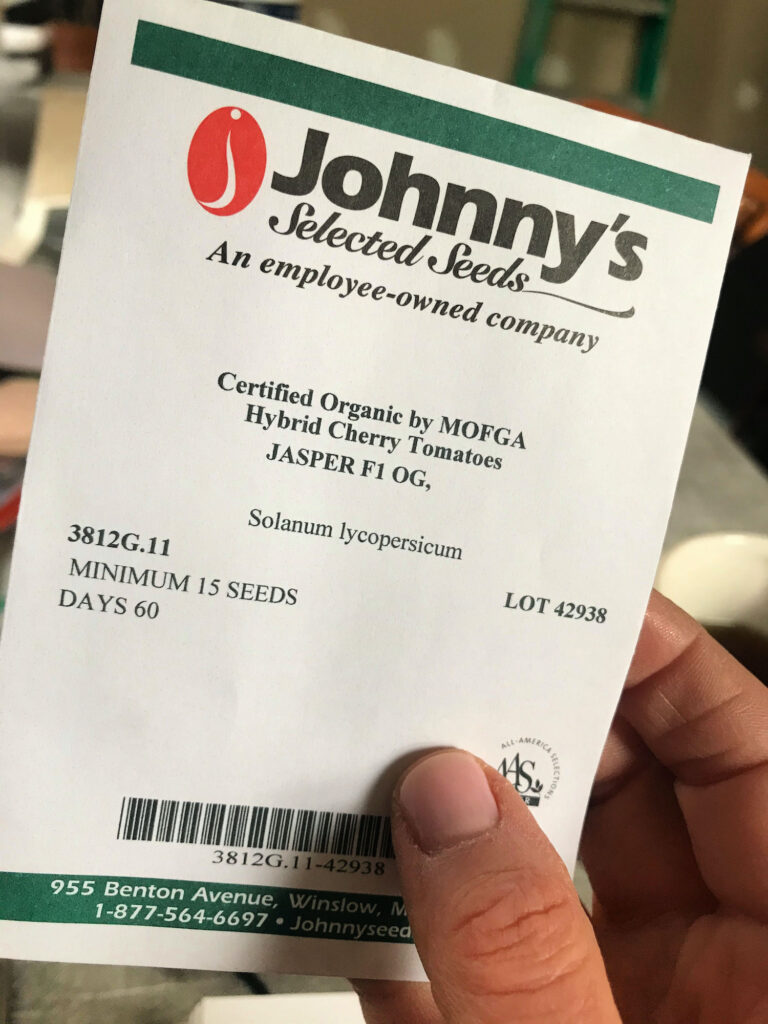
Pore through seed catalogs or look online and you’ll see all kinds of tempting varieties. When you grow from seed, the options for tomato varieties are seemingly endless! A few years ago, I grew striped tomatoes you would never find at a local greenhouse. I always buy cherry tomato seeds, paste tomato seeds such as San Marzano, and slicer seeds for burgers.
Here are a Few of My Favorite Seed Sources:
Share Tomato Seeds
Growing a tomato from a tiny seed is lots of fun. Just one plant will produce fruit prolifically. Just a few grown plants can yield hundreds of tomatoes! Seeds go a very long way so I recommend finding a gardening buddy and splitting up your seeds, regardless of what you plant. If you do decide to keep them all, though, store unused seeds in a cool and dark place, never sunny and warm. Mini-fridges and basements are great for this. The longest I would ever plan to use seeds is two years. After that, germination really suffers and you’re likely to have seeds that won’t sprout. Fresh seeds will always perform best.

Start with Good Soil
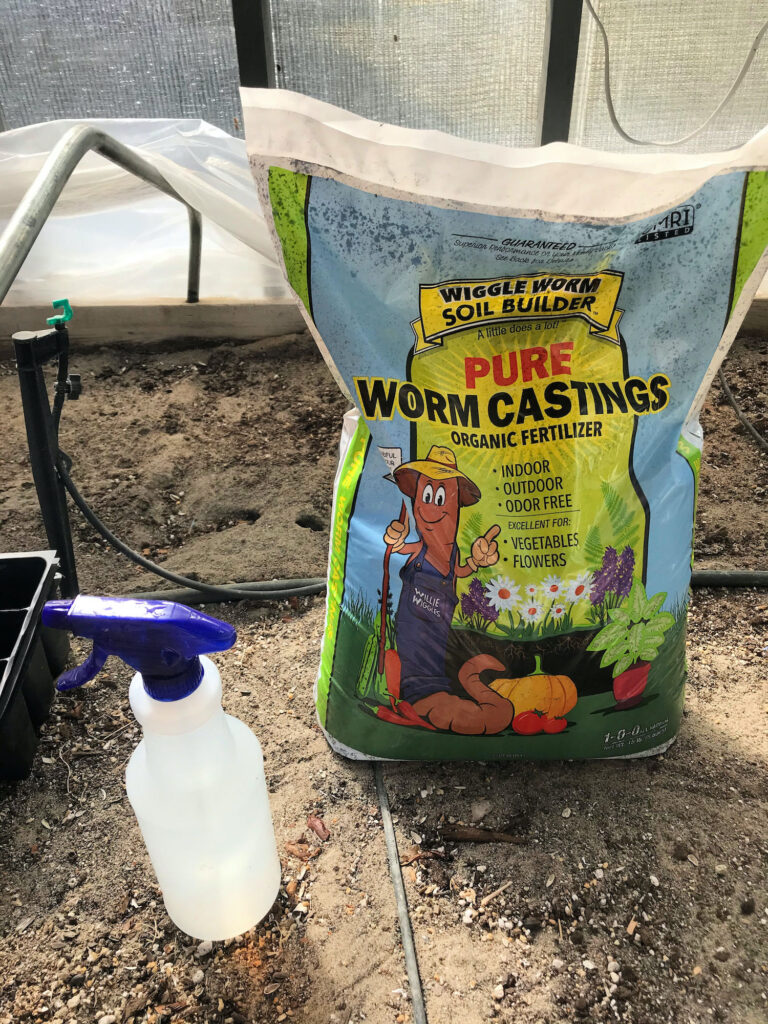
It’s tempting to just use potting soil or garden soil when you’re first starting out with gardening. However, I have found that the best growing mix is made by combining potting soil, worm castings, and compost. We have several large outdoor compost bins, but we also have a small countertop compost container. We throw banana peels, coffee grounds, eggshells, and other food scraps into it and then take it out to our larger bins once a week or so. If you don’t have compost readily available, many nurseries sell it in bags. The worm castings and compost are a valuable source of nutrients and put nitrogen back into your soil.

Skip Growing on Windowsills
When I was in grade school, I distinctly remember putting seeds in styrofoam cups in science class, and putting them on windowsills to grow. This is a huge no-no. Although sunlight is great, young seedlings put into direct sun tend to get leggy and spindly. Instead, consider hanging an LED or shop light an inch or so above your seed containers. This gives them low and slow light that will help them grow stronger and more efficiently.
Feeding Your Tomato Seedlings
I only use water and sun for the first few weeks after planting tomato seeds. Once they’re about 4 weeks along, I like to make compost coffee and feed that to them. Within 6-8 weeks, they’re ready to put into the ground or a large container. You don’t need anything fancy for a container, but it needs to be as large as a 5 gallon bucket. And honestly, a 5 gallon bucket itself many not be pretty but the size is perfect and it’s inexpensive.
Transplanting Tomatoes
As tempting as it is to put your tomatoes into the ground, make sure you get the plants used to ‘real life” situations. In gardening, this is referred to as hardening off. To harden off your tomato plants, wait until the temperatures are in the low fifties. Let the plants sit outside for just a few hours on a warm and still day. Forget rainy, windy days! Think of this process as athletic conditioning for your tomato plants. You need them to gradually adapt to environmental stress.
Start increasing the time you leave them outside by a few hours until the temperatures are steady. Don’t rely on your last frost date to be the judge of when you put your tomatoes in the ground. When you’re ready to transplant, dig a hole in the ground that’s deep. You want approximately half the plant to be buried in the ground to give it a good chance to grown deep roots, FIll each hole with eggshells, compost coffee, worm castings and coffee grounds. Put your cages into the ground first, then the plant.
Don’t Forget to Mulch
Add a thick layer of mulch around each plant to help retain moisture, keep weeds at bay, and protect your plants from the elements. And then continue to feed them compost coffee at least once a week, along with watering them regularly.

Leave a Reply