October is right around the corner, hard is that is to believe! If you grew a garden this summer, you probably already harvested most of your fruits and vegetables, but what about your herbs? Don’t let them go to waste. Today I’m sharing 3 ways to dry fresh herbs. And they’re all easy-peasy.
Why Drying Herbs Makes Sense
It’s Less Expensive
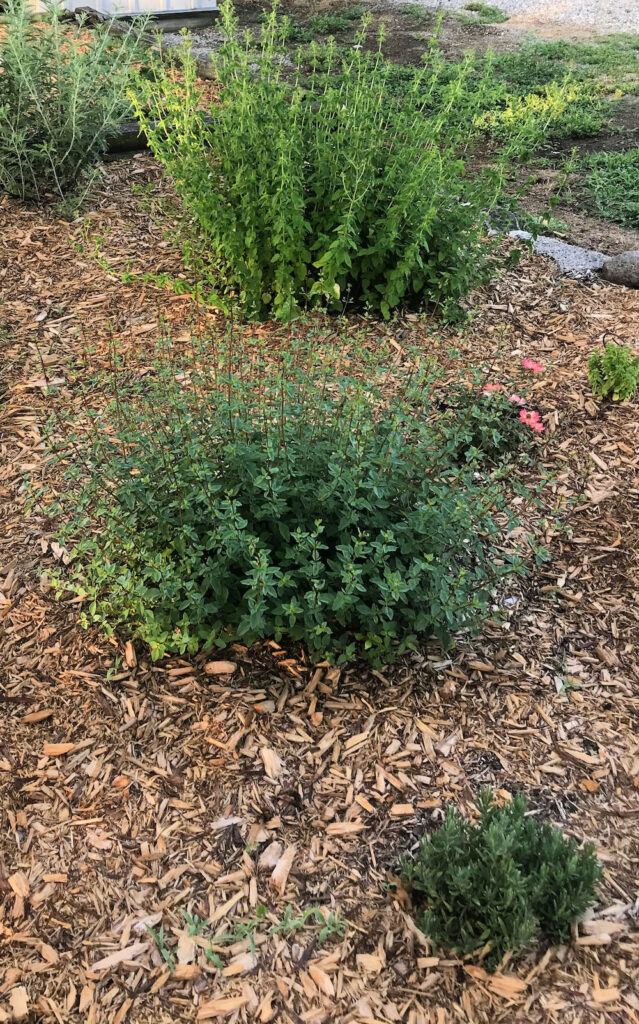
- If you like to cook, growing and drying your own herbs makes a lot of sense. While some spices in your cabinet aren’t used often (looking at you, cardamom!), the basics like thyme, oregano, rosemary, and basil are pulled off your spice shelf quite often. I know I rely on mine for recipes like my fresh and simple pasta sauce. Buying them on repeat at a grocery store gets pricey for quality dried herbs. Instead of resorting to this, consider growing herbs in your own garden or on your patio in pots. Before the first frost, you can harvest and dry your own.
They’re Much Fresher
- Dried herbs are best used within a year of their purchase. Unfortunately, those in grocery stores are already old by the time you buy them. This is largely due to consumer lifestyle decisions and the ready availability of packaged heat and eat meals these days. People don’t cook like they used to back in “the old days.” You can’t beat the freshness of the herbs you grow yourself, though. Once you dry your own, you’ll be blown away by the difference in their taste. You’ll notice your own dried herbs are so much more flavorful!
They’re Better For You
- If you feel compelled to do a deep dive on the usefulness of herbs, you’ll find some fascinating information on their health benefits. Many have anti-inflammatory and cancer-preventive properties that our pioneer ancestors took advantage of. I added a few sprigs of fresh herbs to salads this summer and felt good knowing that my homegrown artisan lettuces and spinach were going to be even healthier than they already were for us to eat.
It’s Easy!
- Drying herbs is not hard and it doesn’t take a lot of time. It’s one of those things that, in my opinion, everyone should at least try because there’s really no downside. You can review the ways to dry them I’ve outlined below and pick what works best for you.
My 3 Ways to Dry Fresh Herbs
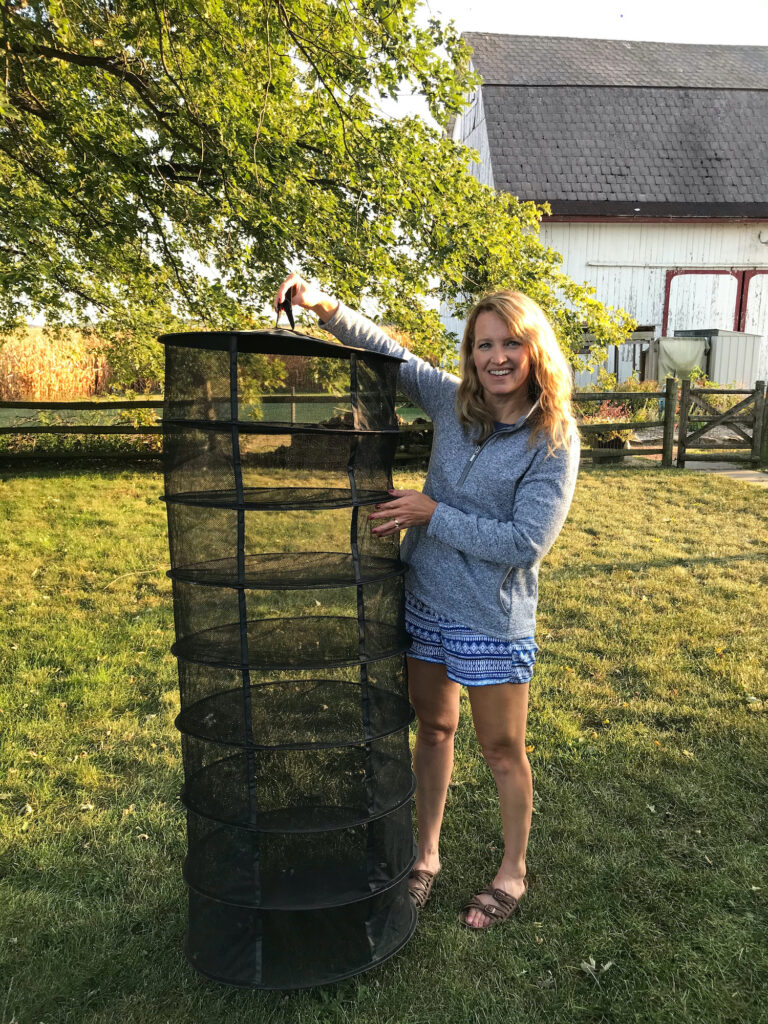
- If you want to channel your ancestors, dry them in bunches and hang them upside down in a basement or other dry place. However, my preferred way to dry herbs is on a collapsible drying rack like this one that I bought two years ago. I like this tiered drying rack because some of the herbs I planted are more like bushes than plants, therefore I have a lot to dry. As you can see, it’s almost as tall as me! I just hang the drying rack by its velcro strap and my herbs can dry on separate tiers, which keeps the herbs in the same area but away from each other. Best of all, I can hang it and leave it be for a week while the herbs dry. And the rack folds down on itself for easy storage.
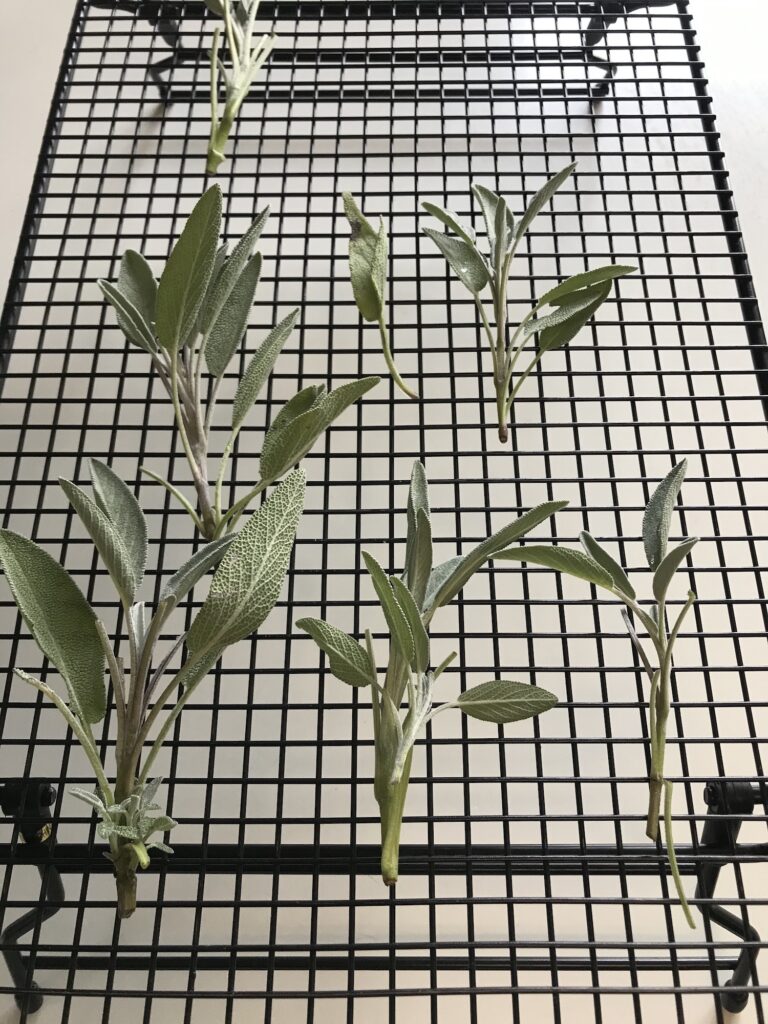
- Baking cooling racks are another option because they have nice airflow just like the drying rack. If you have some extra table or shelf space, this is a good option for you to consider. For smaller herbs, it’s best to line the rack with cheesecloth so the herbs don’t fall through the holes while they’re drying. They’ll be ready within a few days to a week.
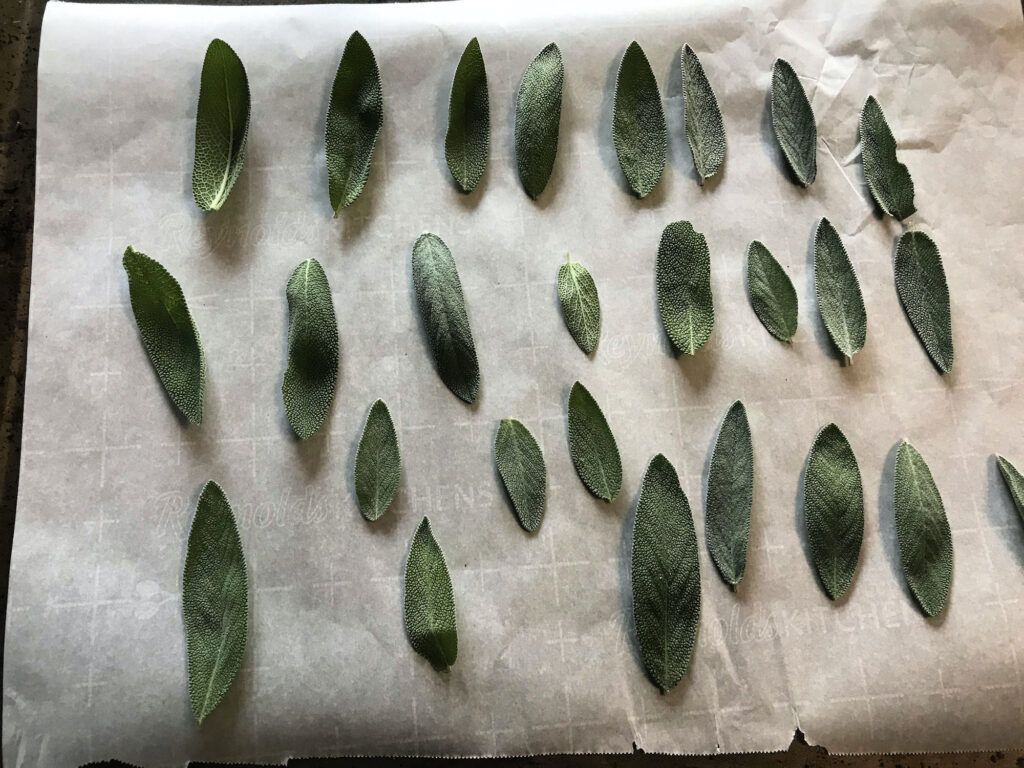
- A food dehydrator or oven is going to be the best way to dry herbs in a pinch. If you use a dehydrator, put the clean leaves in a single row on a tray and use the lowest setting. This will take anywhere from 2-4 hours. For an oven, “bake” your herbs at the lowest heat setting for about half an hour on a silicone baking mat, parchment paper, or cheesecloth.
No matter which way you choose to dry your herbs, make sure you label them before you dry them. Some smaller-leaved herbs look mighty similar to each other once dried.
How to Harvest Herbs
If I’m feeling really ambitious, I will harvest my herbs twice each year; once in late spring before the herbs flower, and again before the first frost hits. When you harvest before the herbs flower, you get the best flavor. However, there have been times I have waited until fall to harvest with no flavor issues.
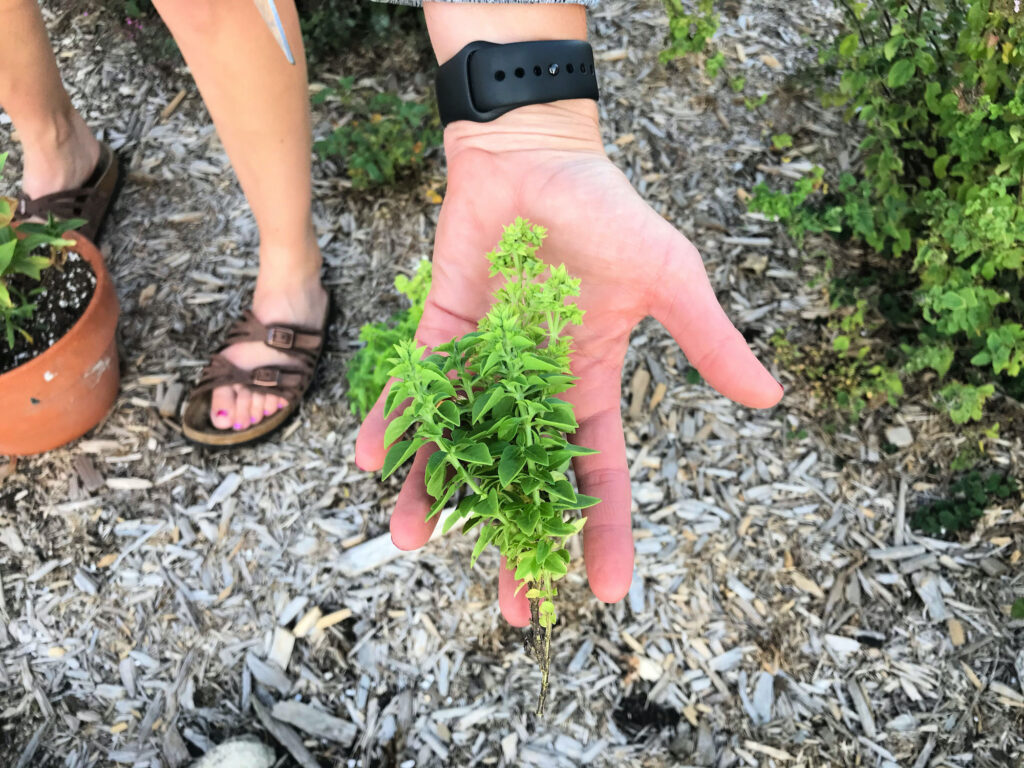
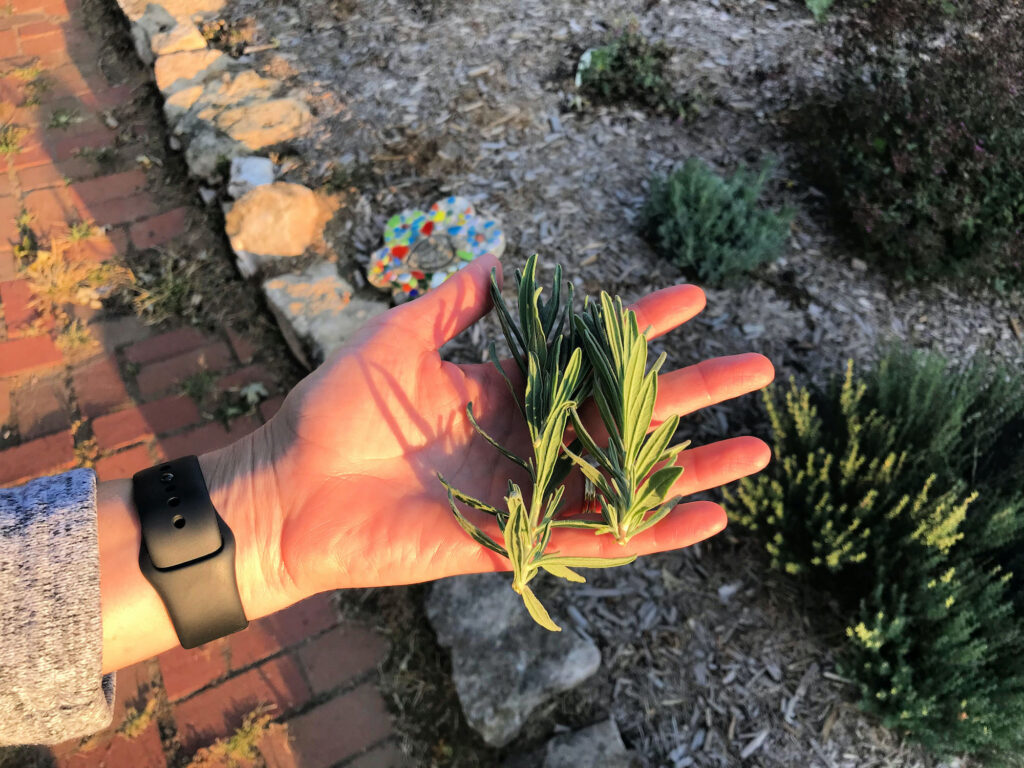
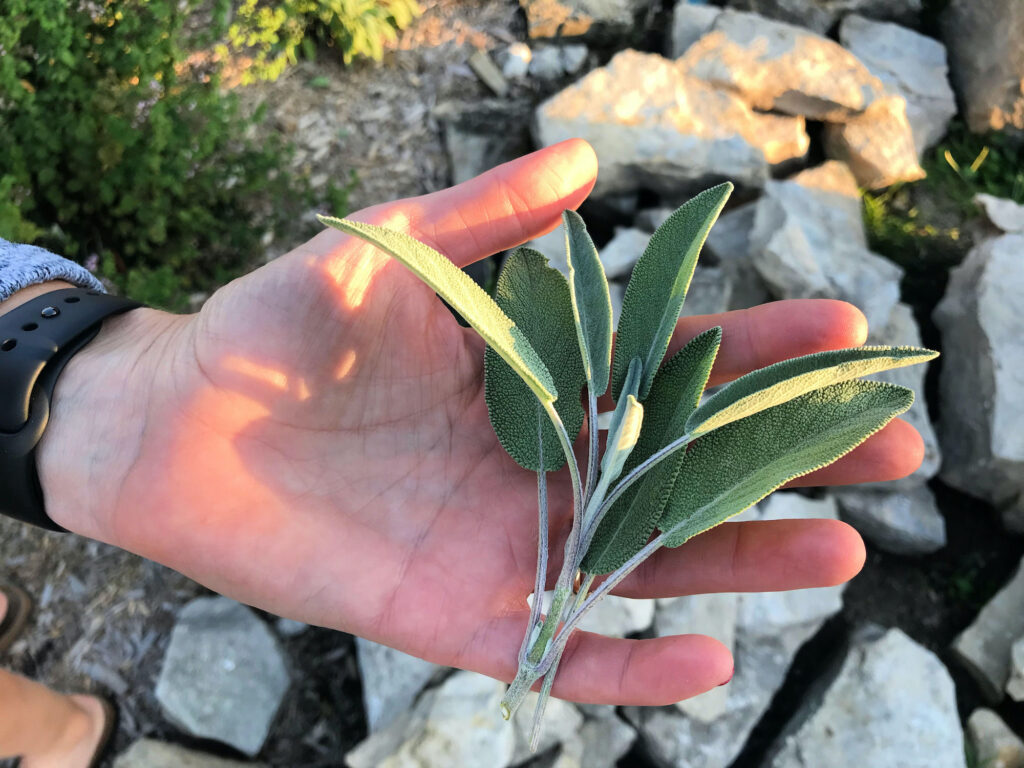
To harvest your fresh herbs, it’s best to wait until mid-morning or early afternoon after any dew has dried. You can use garden or kitchen shears to trim your herbs. For herbs with larger leaves, like sage, some varieties of basil, or cilantro, remove the leaves from the stem. With smaller-leaved herbs like rosemary, thyme, and oregano, dry them on their stems and remove the leaves after drying. Remove any part of your herb before you dry it.
How to Store Dried Herbs
Once herbs are dried, you can choose to crumble them or leave the leaves intact, depending on how you use them. If you crumble them, do this over a piece of parchment paper. That way, you can just funnel them right into your jars. Store them in labeled glass jars in a cool, dry place. Cute, matching jars would be ideal but any small, repurposed glass jar with a lid will do.

Watch My Video!
I hope you enjoyed learning 3 ways to dry fresh herbs. No matter how you choose to dry your own, I’d love to hear what you think once you taste the difference. You’ll never want to go back to those old grocery store jarred herbs again!

Leave a Reply